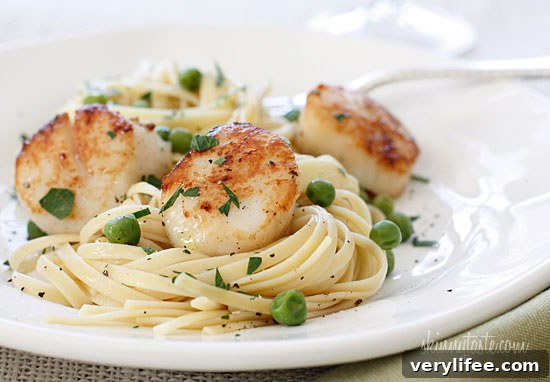
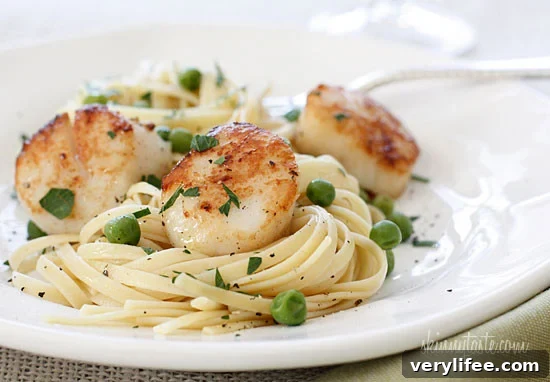
Scallops make an elegant, quick dinner any night of the week. They sear beautifully in just a few minutes and pair especially well with pasta. This linguini dish with sautéed sea scallops and sweet peas is simple, flavorful, and comes together in about 20 minutes—perfect for a busy weeknight or an easy weekend meal.
Use the freshest sea scallops you can find for the best texture and flavor. Before cooking, remove the small, tough side muscle attached to each scallop. This recipe serves two and is easy to double if you want four servings.
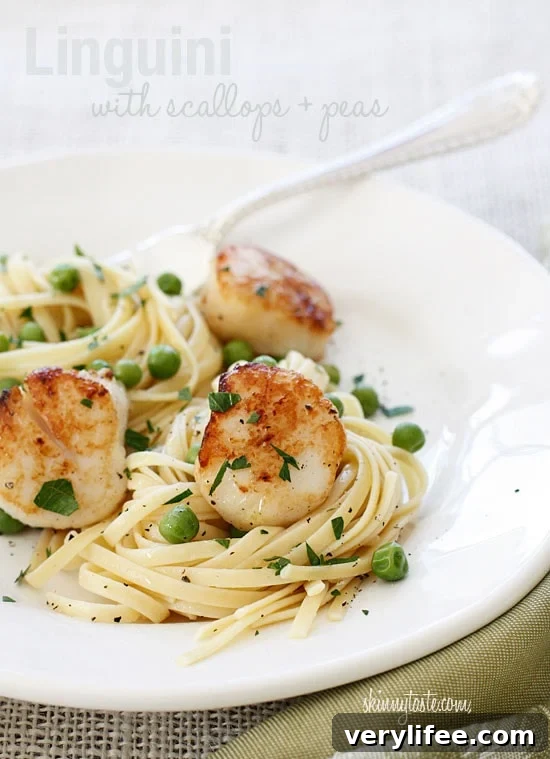
Linguini with Sautéed Scallops and Peas
Summary: Tender seared scallops tossed with whole wheat linguini, sweet peas, fresh parsley, and a touch of olive oil and butter. Ready in about 20 minutes and ideal when you want a light but satisfying pasta dinner.
Rating: 4.20 from 10 votes
Course: Dinner
Cuisine: American
Prep: 5 mins Cook: 15 mins Total: 20 mins
Yield: 2 servings Serving Size: 1 cup pasta + 3 scallops
Ingredients
- 4 oz linguini (whole wheat or low-carb)
- 1 cup frozen peas
- 2 tbsp chopped fresh parsley
- 1 tsp extra-virgin olive oil
- 1 tsp butter
- 6 large sea scallops, cleaned (remove side muscle)
- Coarse salt, to taste
- Freshly ground black pepper, to taste
Instructions
- Bring a medium pot of salted water to a boil. Cook the linguini according to the package directions until al dente. Add the frozen peas to the boiling water about 4 minutes before the pasta finishes cooking so they become tender but still bright.
- Before draining, reserve 1/2 cup of the starchy pasta water. Drain the pasta and peas, then return them to the pot.
- Add the chopped parsley, 1 teaspoon of olive oil, and the butter to the hot pasta. Toss and add reserved pasta water a little at a time to create a light sauce that coats the noodles. Season with salt and freshly ground pepper to taste.
- While the pasta cooks, pat the scallops dry with paper towels and season both sides lightly with coarse salt and ground pepper. Dry scallops sear better, so removing surface moisture is important.
- Heat a large skillet over medium heat and add the butter. Once the butter is hot and foamy, add the scallops in a single layer, leaving enough space between them. Sear without moving them until they develop a golden-brown crust, about 2 to 3 minutes on the first side.
- Flip the scallops and cook another 30 to 60 seconds until they are opaque through most of the center but may still be slightly translucent in the very middle. Avoid overcooking—scallops become rubbery if cooked too long.
- Serve the scallops atop the linguini and peas, spooning any pan juices over the dish. Garnish with extra parsley if desired and an additional grind of black pepper.
Tips for Success
- Dry scallops thoroughly before searing to get a proper brown crust.
- Use the reserved pasta water to adjust the sauce consistency; the starchy water helps emulsify the olive oil and butter with the pasta.
- If doubling the recipe, sear scallops in batches so the pan doesn’t crowd and they can brown evenly.
Nutrition (per serving)
- Calories: 374 kcal
- Carbohydrates: 56 g
- Protein: 27 g
- Fat: 6.5 g
- Fiber: 9 g
- Cholesterol: 40 mg
- Sodium: 261 mg
- Sugar: 8 g
Final Note
This linguini with sautéed scallops and peas is a quick, impressive meal that balances delicate seafood with simple pantry ingredients. It’s fast enough for weeknights but elegant enough for guests—serve with a crisp green salad and a squeeze of lemon if you like. If you make it, consider rating the recipe and leaving a brief comment to share what worked for you or any variations you tried.