
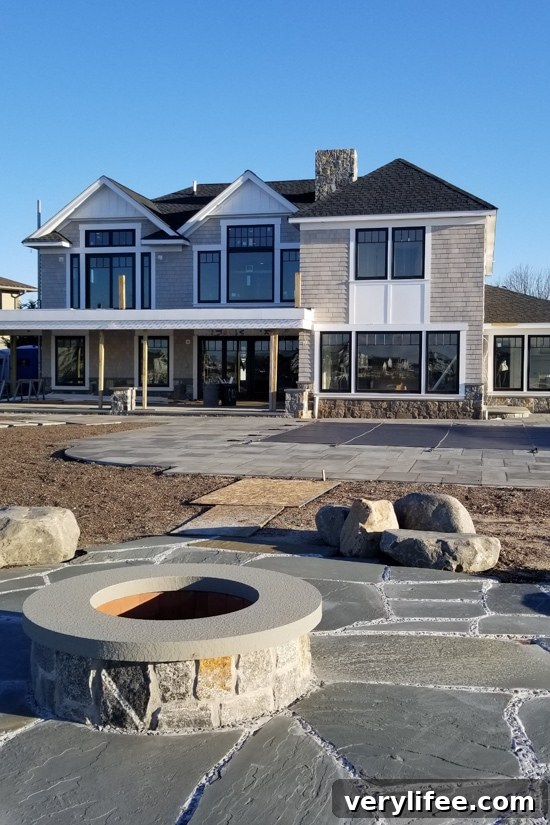
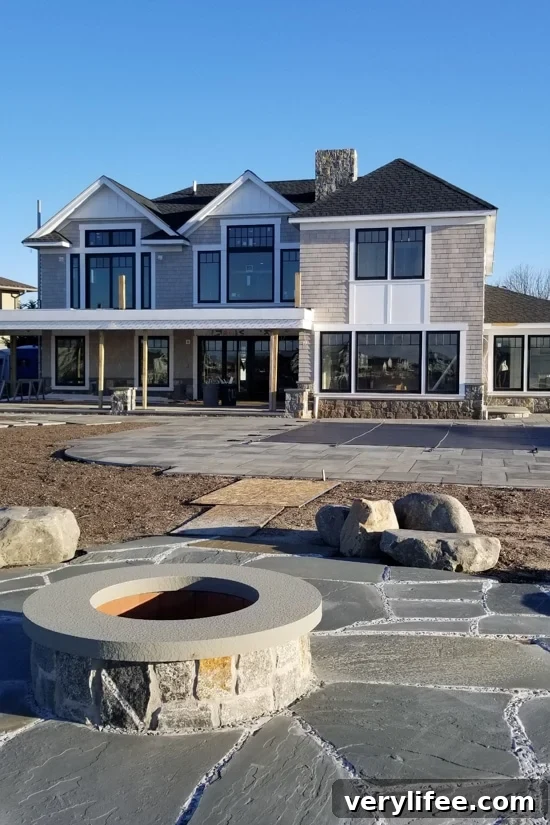
As many of you know from my earlier post about our first meal in the new house, we’ve been renovating our Long Island waterfront home for well over a year. Progress has been steady: some major milestones are complete, other rooms are still in progress, and there’s a lot left to finish before we can move in. I’ve been documenting the journey and wanted to share updated photos and details about the kitchen and other spaces as the renovation continues.
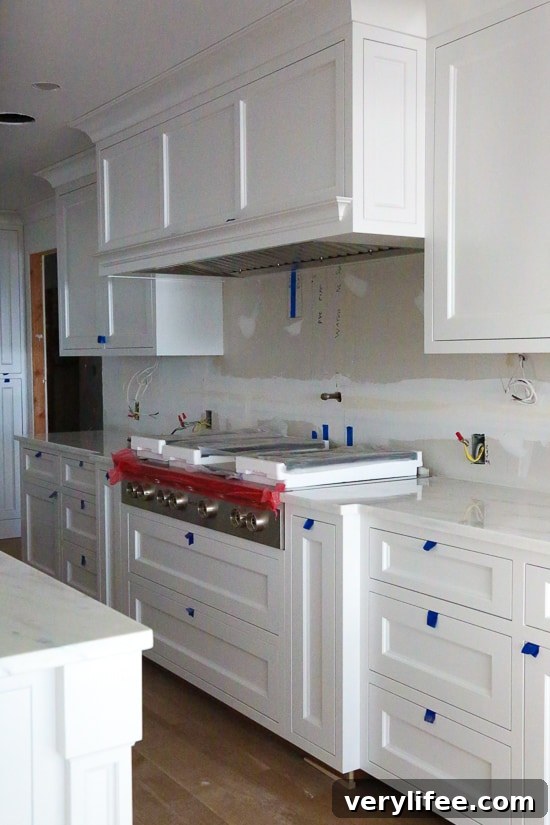
We decided on a bright, all-white kitchen to capture light and highlight the water views. The layout required balancing sightlines to the bay with storage needs, so we removed the formal dining room to expand the kitchen and add a pantry. The photos below show the kitchen during the build—cabinetry is in place but we still need to install hardware, stain the floors, and finalize the backsplash choice.
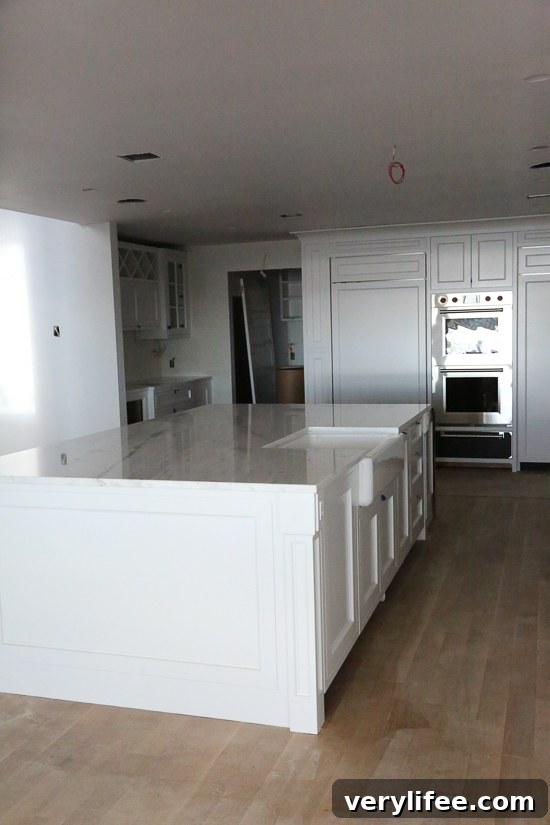
The island houses a deep farm sink and a drop-down microwave, keeping prep and serving areas uncluttered. We chose Quartzite Monte Blanc for the countertops instead of marble because it offers the same luminous look with less maintenance—an important factor for a busy kitchen where I test and photograph recipes. All major appliances are from Wolf and Sub-Zero, brands we trust for performance and consistency in a home kitchen designed for frequent cooking and entertaining.
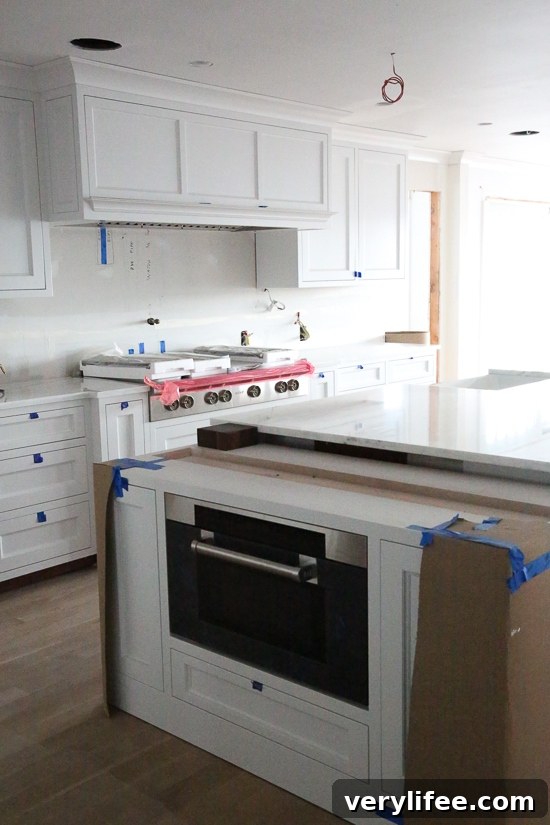
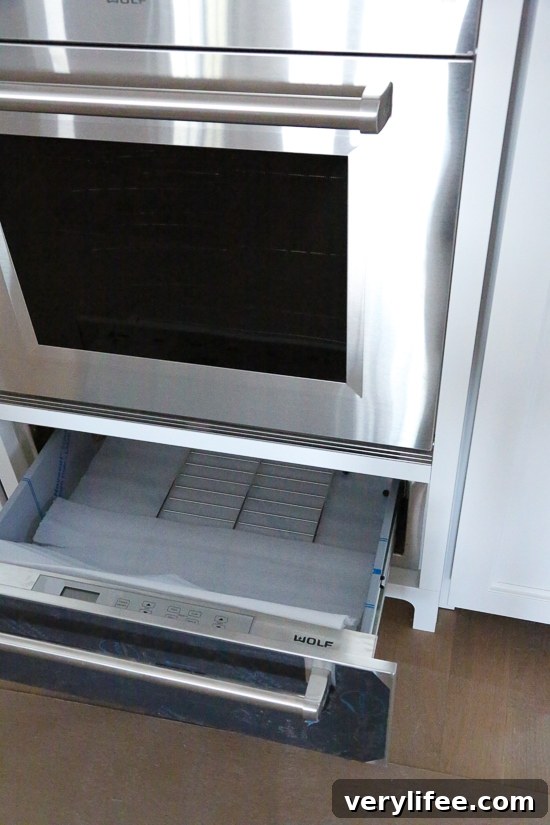
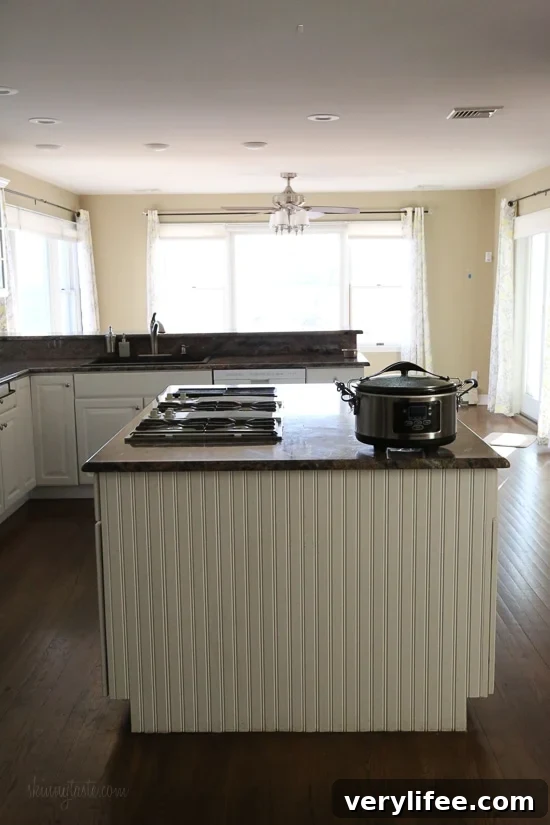
For cooking, we installed a 48″ sealed-burner rangetop with dual-stacked burners that give both intense heat and delicate low-simmer control. The rangetop sits above wide drawers for pots and pans, with pull-out spice racks flanking the unit for quick access while cooking. Below the oven bank there’s a warming drawer that will be handy for keeping finished dishes warm during recipe testing or dinner parties.
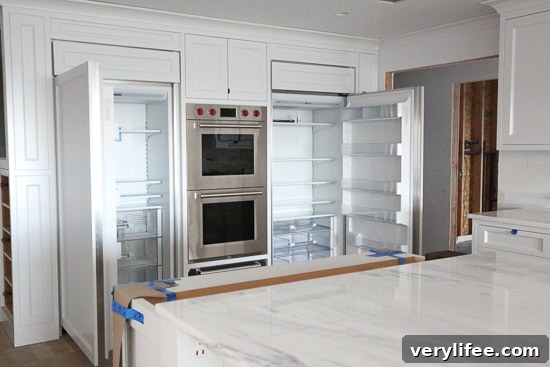
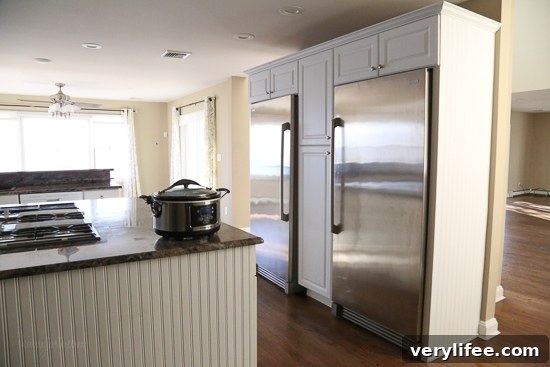
Along the back wall we installed a panel-ready freezer and a panel-ready refrigerator to create separate climate-controlled storage for frozen and fresh items—useful when you cook a lot and need organized, shallow storage so nothing gets lost at the back. Between them we have a double wall oven that will make baking and batch-cooking much easier.
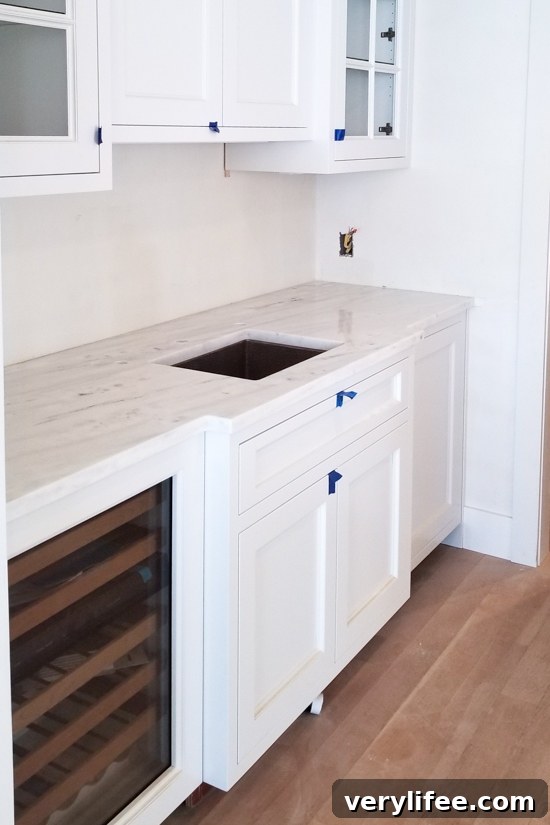
We’ll be finishing the island with a butcher block on one end to add warmth and functionality for chopping and casual serving. On the opposite side of the refrigerator and ovens we created a coffee-and-wine station with an under-counter wine storage unit—this corner will be a favorite spot for morning coffee and evening unwinding. We also installed two dishwashers; with a busy kitchen and frequent entertaining, a second dishwasher is a small luxury that makes cleanup much easier.
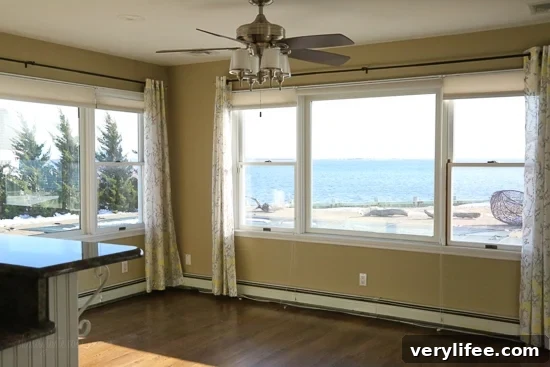
The far end of the kitchen opens into a casual dining area. We chose larger windows and sliding doors with white interiors and darker exteriors to frame the view and bring in maximum light while maintaining a coastal, beachy feel. The open-concept plan keeps sightlines to the water, which was a priority when designing the layout.
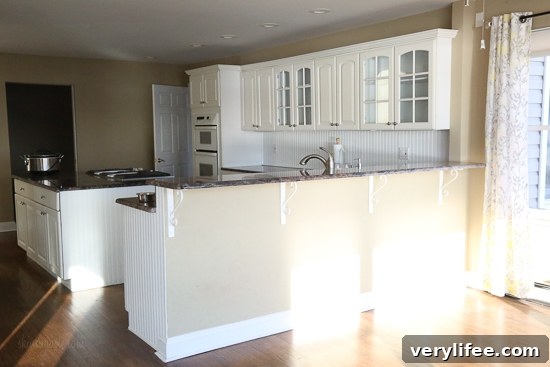
Below are photos of the kitchen before the remodel. It was charming but dated and felt small for the way we like to cook and host. We removed the baseboard heating and installed radiant floor heating for improved comfort and efficiency.
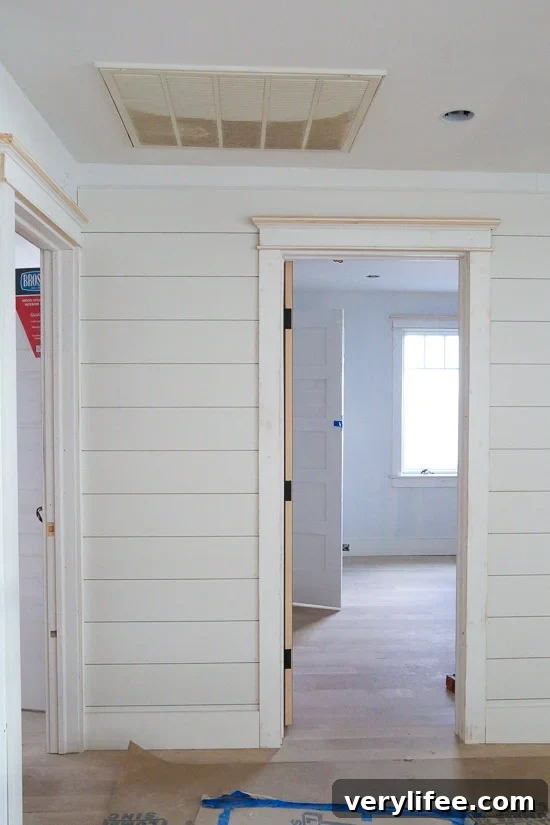
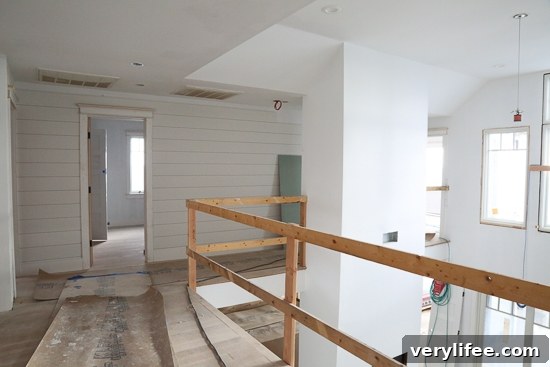
One of my favorite design choices was adding shiplap along the second-floor wall that overlooks the first floor. The open concept lets that detail be seen from below and gives the home a relaxed coastal character. We’re still finishing the staircase and banister, so there are some construction cues in the photos.
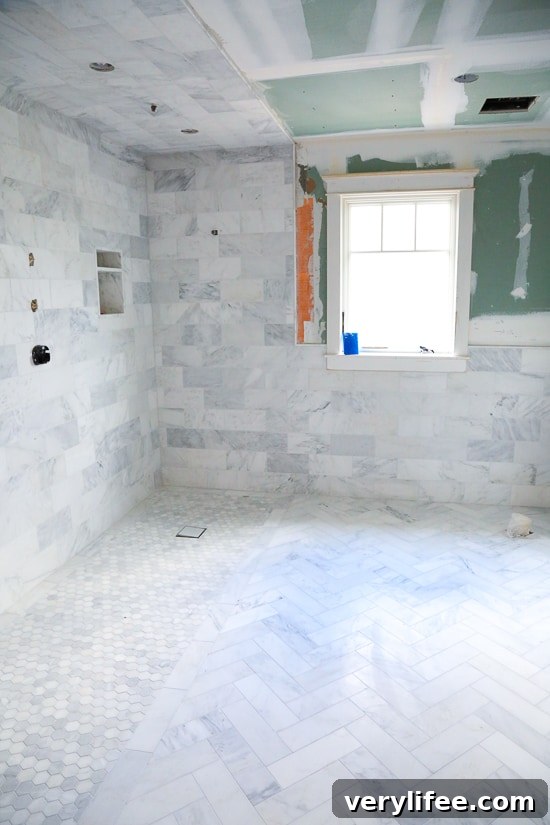
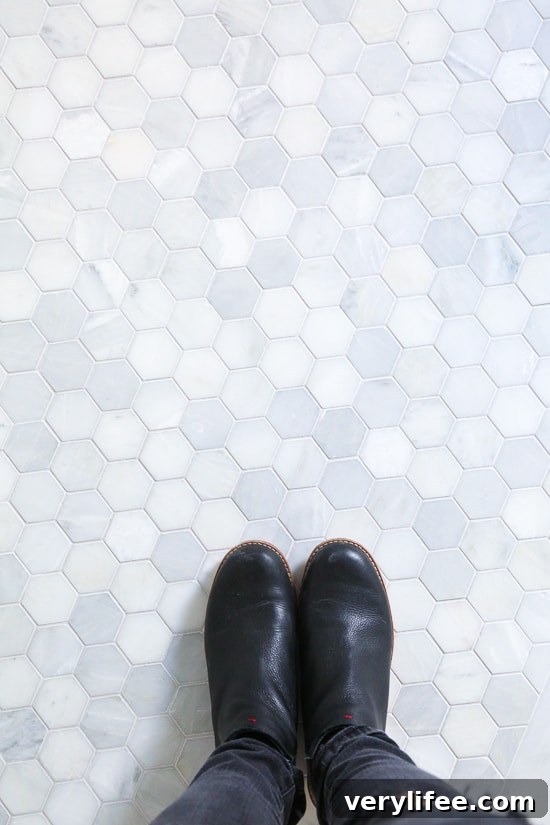
In the master bathroom we opted for a spacious Roman-style shower instead of a bathtub, and chose hexagon marble tile in the shower for texture and classic appeal. The original master suite was larger than we needed, so we reconfigured the space to add a much-needed walk-in closet.
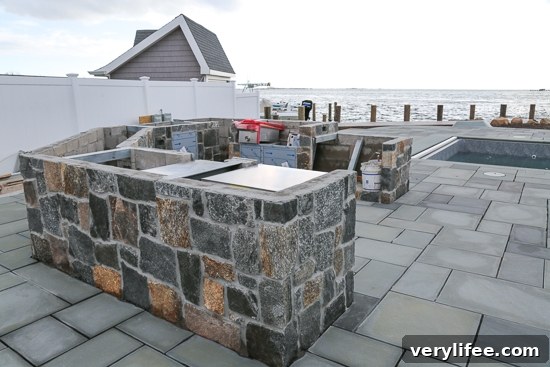
Outside, we’ve begun building an outdoor kitchen for summer entertaining. The plan includes a range and a pizza oven—my husband insisted on a pizza oven—so you can expect a lot of backyard pizza nights once it’s complete.
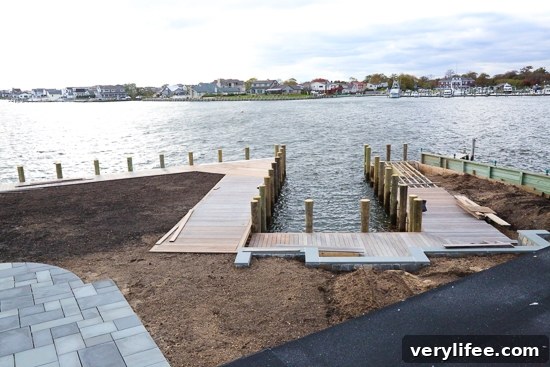
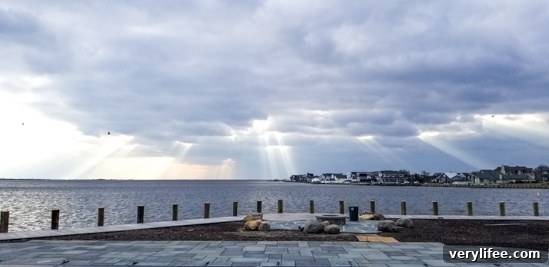
What we love most about the house is the location. Living on the water gives us direct access to the bay for crabbing and unforgettable sunsets from our backyard. I’m excited to keep sharing progress photos as rooms are finished and the house comes together—hopefully we’ll be moved in sooner rather than later!
Disclosure: This post is created in partnership with Sub-Zero Wolf. All thoughts are my own.