
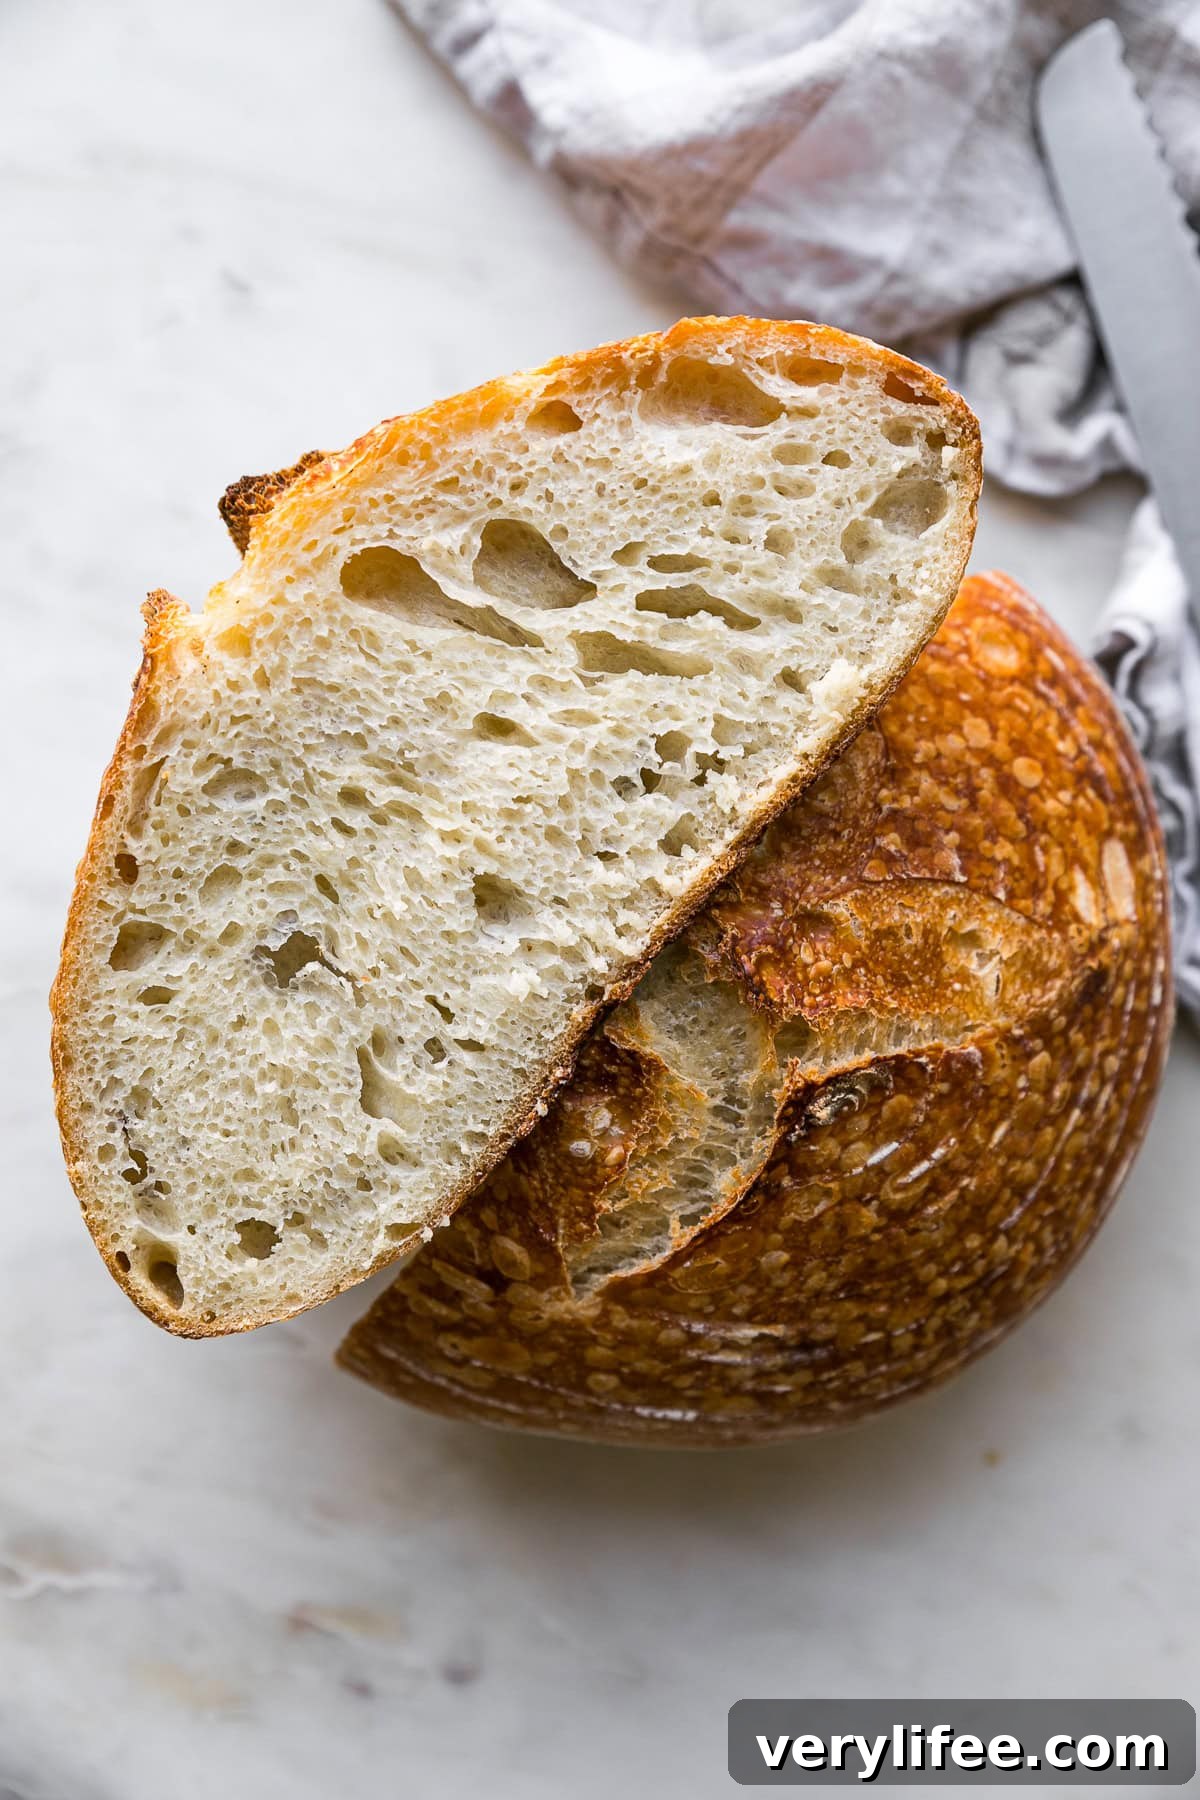
This easy sourdough bread recipe is perfect for beginners—no autolyse, no lamination folds, just straightforward steps and delicious results. This is the reliable sourdough loaf I bake most weeks.
I love serving it with cabbage soup and tomato soup; it’s ideal for tearing, dipping, and soaking up every last spoonful.
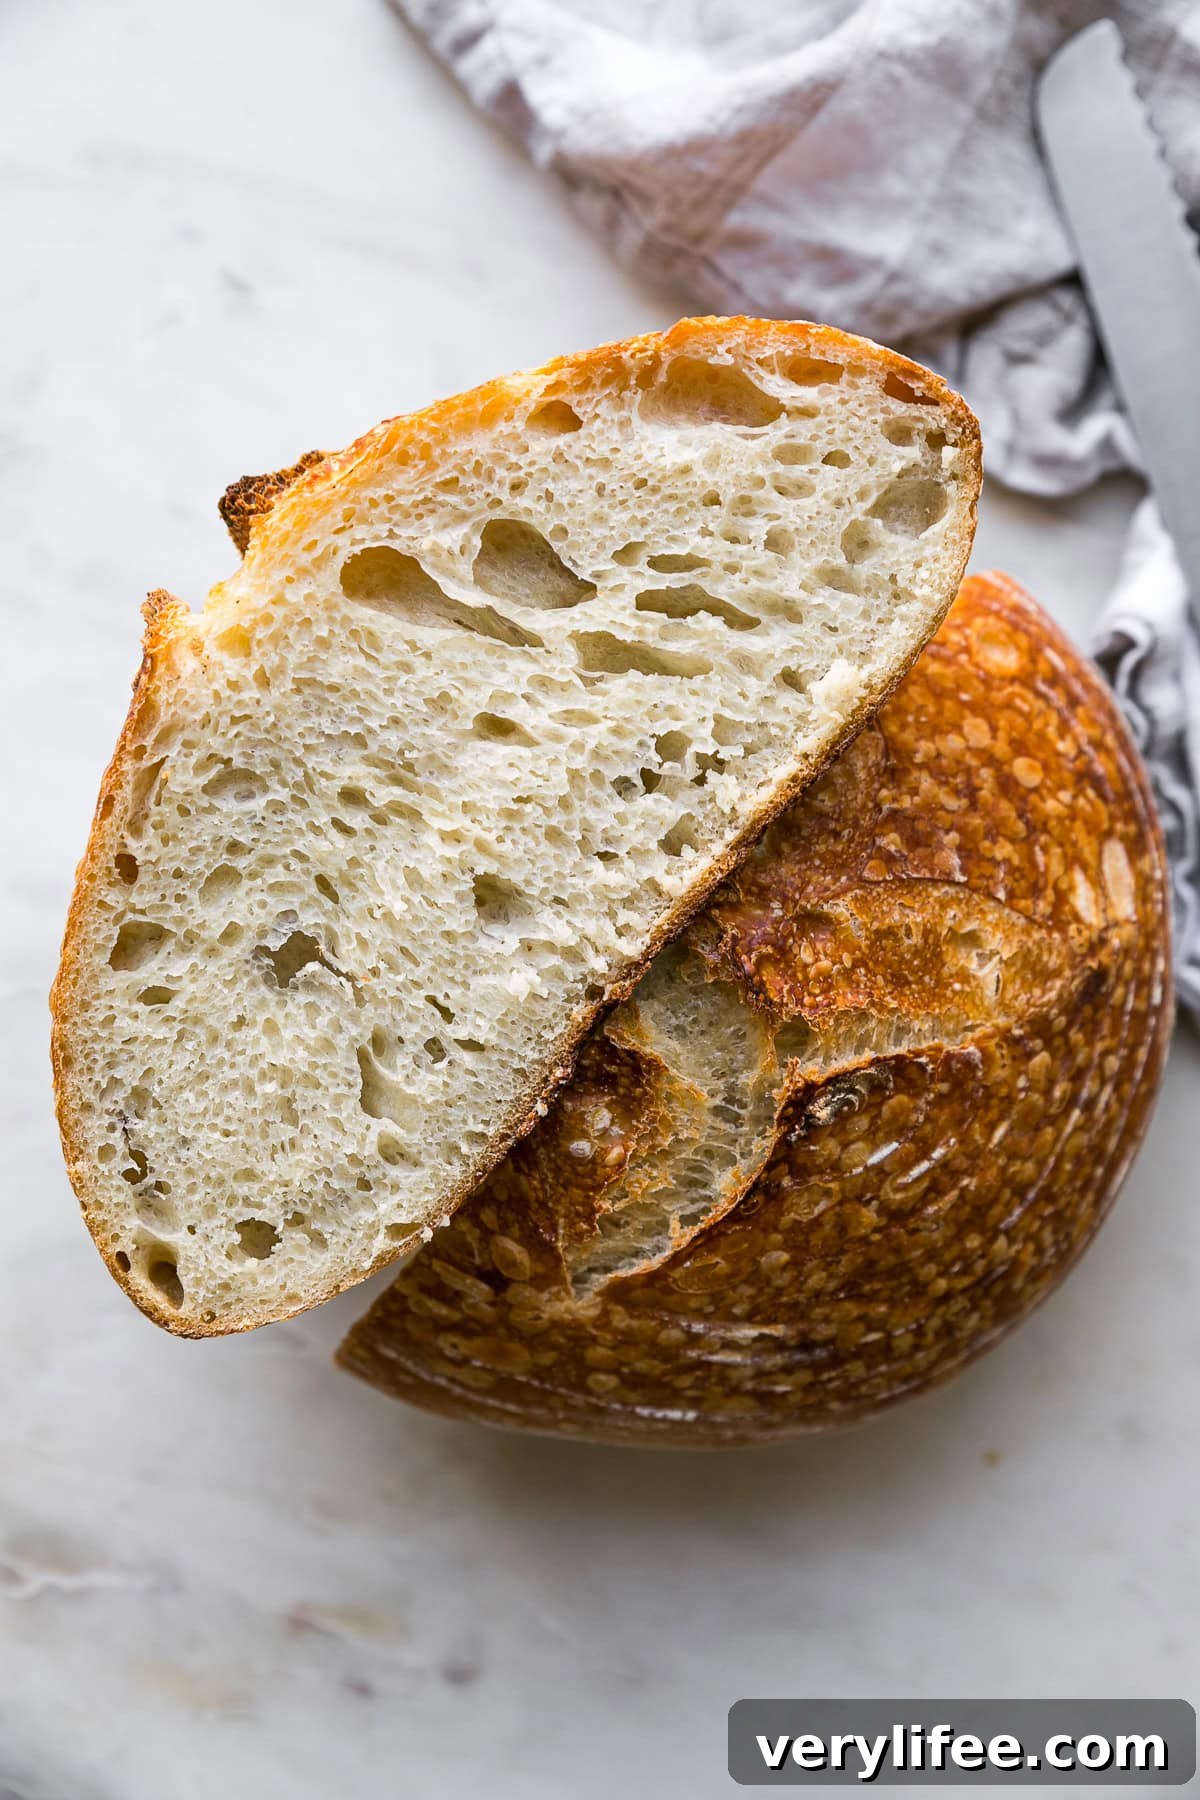
Easy Sourdough Bread Recipe
Baking sourdough can feel intimidating with unfamiliar terms and long timelines. This recipe strips the process down to essentials: a strong starter, simple stretch-and-folds, a slow cold proof for flavor, and a hot bake in a lidded pot. It’s designed to be beginner-friendly while delivering consistent, bakery-style results.
Why This Sourdough Bread Recipe Works

I started baking sourdough when I received starter from a friend. Over time I refined a simple method that works week after week for my family. The approach is forgiving and practical for home bakers because it focuses on:
- No special tools required: A mixing bowl, towel, and Dutch oven are all you need—no proofing basket or baking stone required.
- Clear, manageable timeline: There’s no complicated autolyse or multi-day juggling. Mix, perform a few stretch-and-folds, bulk ferment, shape, and cold-proof.
- Cold proof for flavor and flexibility: Refrigerating the shaped loaf overnight improves flavor and crumb while allowing you to bake when it’s convenient.
- Starter guidance: The method includes simple feeding directions so you can have a reliably active starter without guesswork.
If you bake this recipe, I’d love to see your results—share photos on social media and tag the baker who inspired you.

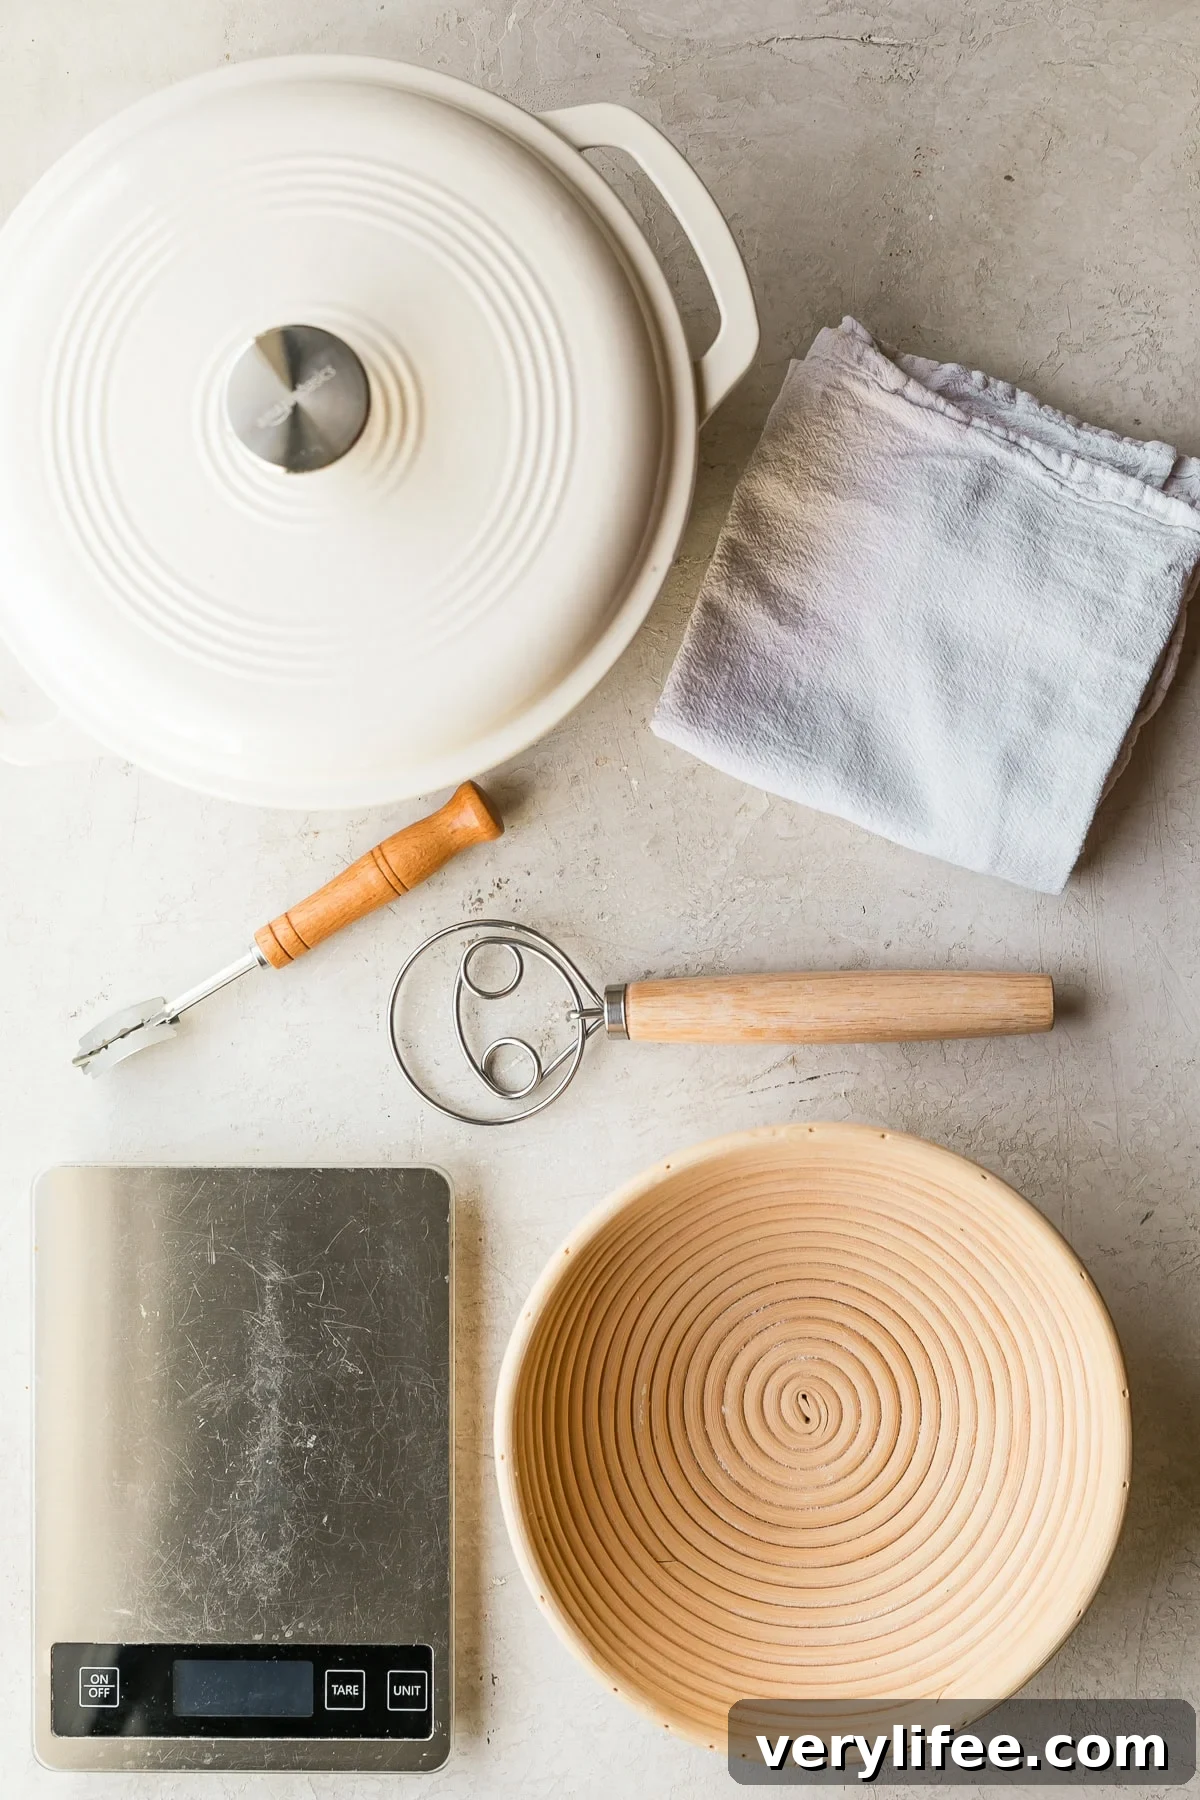
What You’ll Need
- A digital kitchen scale (optional but recommended for accuracy)
- A large mixing bowl
- A Dutch oven or heavy, lidded pot
- Parchment paper
- A banneton or a mixing bowl lined with a well-floured towel
- A razor, sharp knife, or lame for scoring
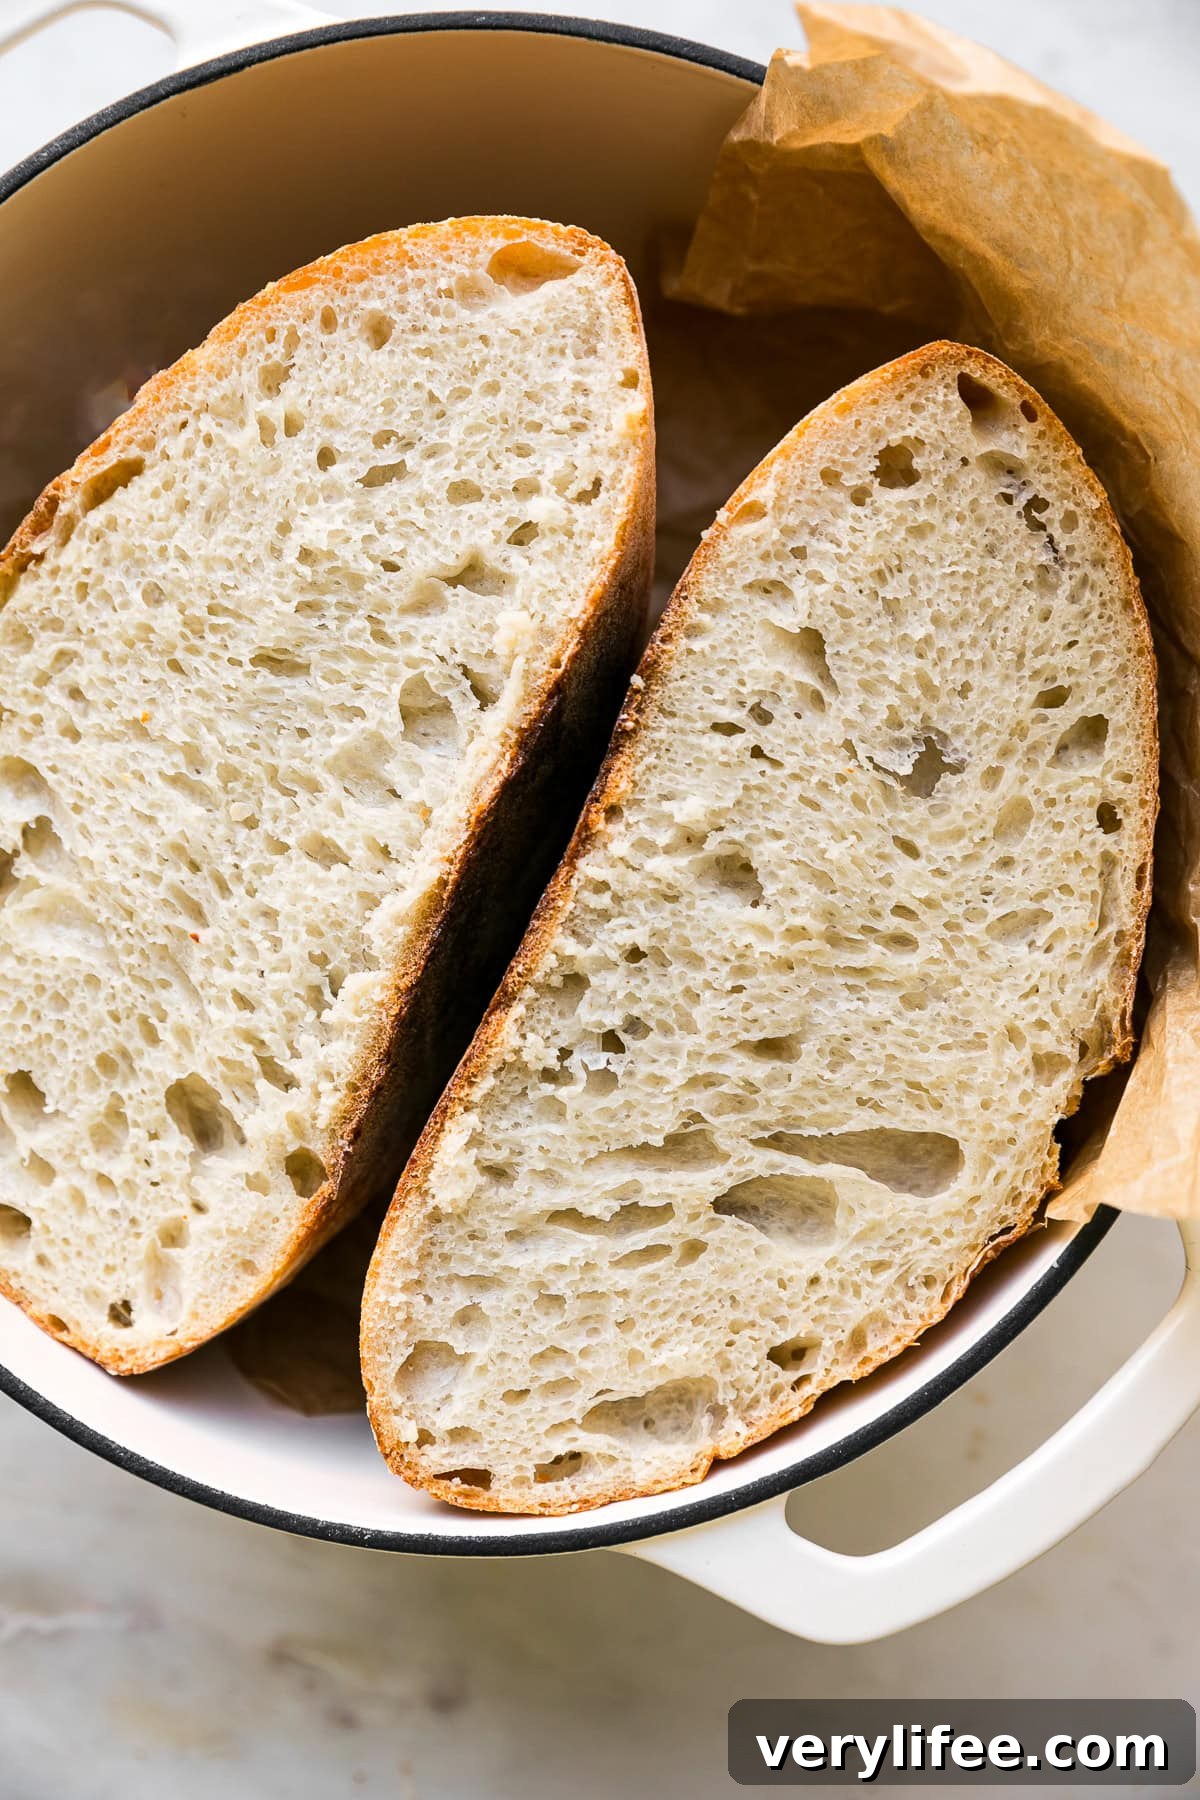
The Most Important Step
The single most important element is a strong, active sourdough starter. You can build one from flour and water over several days or obtain an established starter. Once you have a lively starter, the rest of the process is reliable and repeatable.
How to Feed Your Starter (1:1:1 Ratio)
A lively starter is essential. Use the simple 1:1:1 feeding ratio—equal parts starter, flour, and water by weight. For example, 100 g starter + 100 g flour + 100 g water. Feed early in the morning and it should be ready by the evening for dough mixing.
- Weigh your starter: keep a small portion (for discard recipes) and place it in a clean jar.
- Add equal parts warm filtered water and flour by weight, then mix until smooth.
- Cover loosely so it can breathe and keep it in a warm spot until it doubles and is bubbly—usually 4–6 hours in a warm environment.
- Scale amounts up or down, preserving the 1:1:1 ratio.
Sourdough Bread Ingredients
This recipe uses just four main ingredients. Exact measurements are provided in the recipe card below.
- Ripe, bubbly active starter (fed and doubled)
- Warm filtered water
- Bread flour or all-purpose flour
- Kosher or fine sea salt
How To Make Sourdough Bread
These step-by-step instructions make one loaf. Scale as needed for more loaves. The process emphasizes gentle handling and slow fermentation to develop flavor and structure.
1. Feed Your Starter
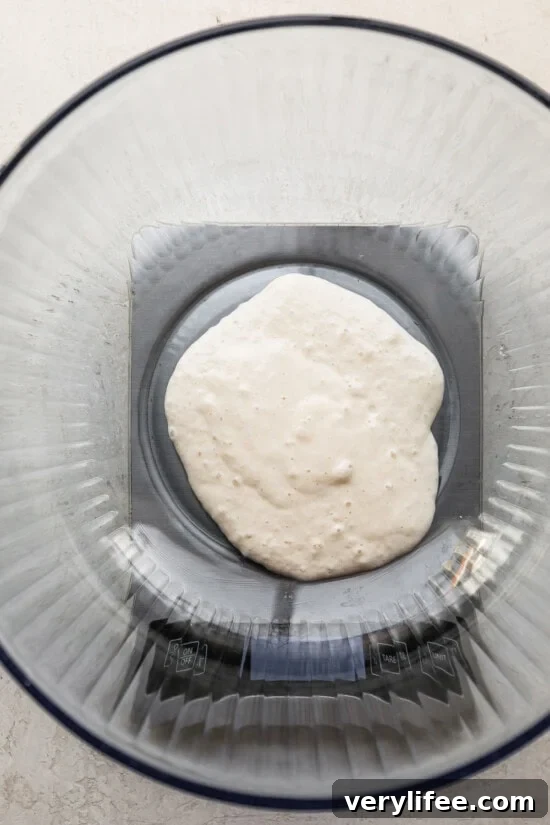
If your starter was refrigerated, take it out and feed it the night before, then feed again in the morning using a 1:1:1 ratio. When it’s doubled and bubbly, it’s ready for dough—usually early afternoon.
2. Make the Dough
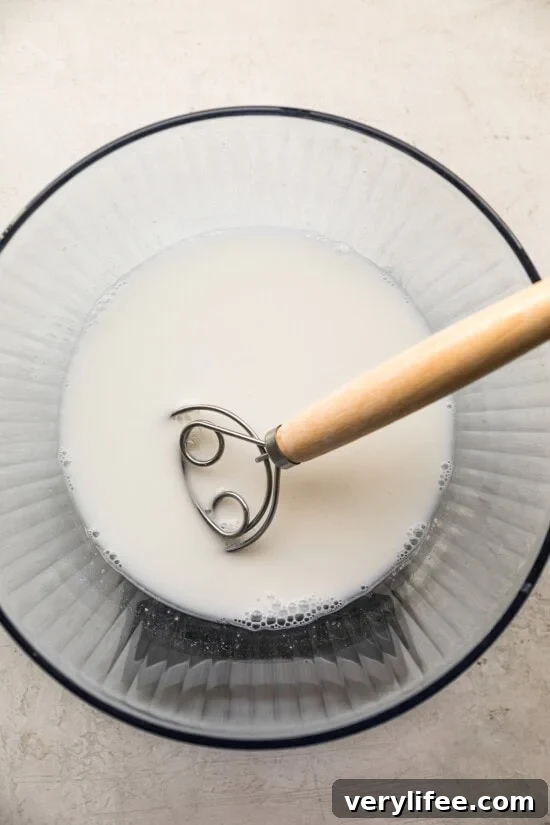
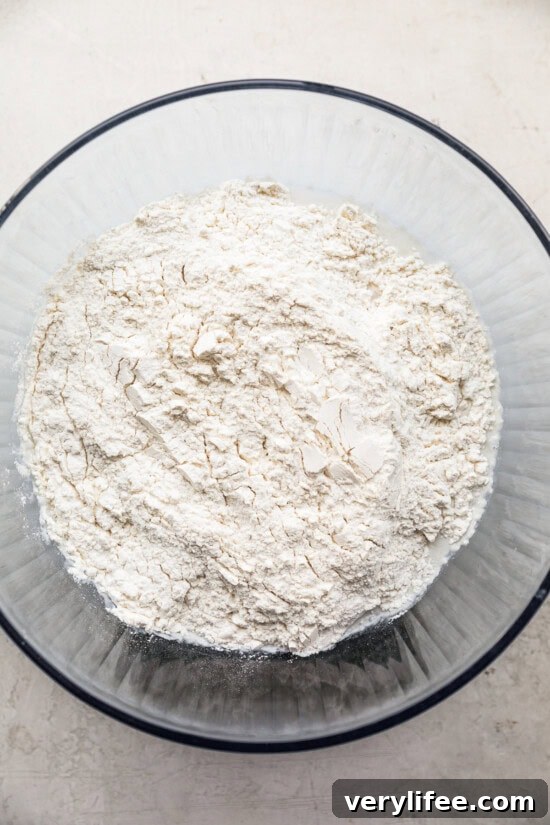
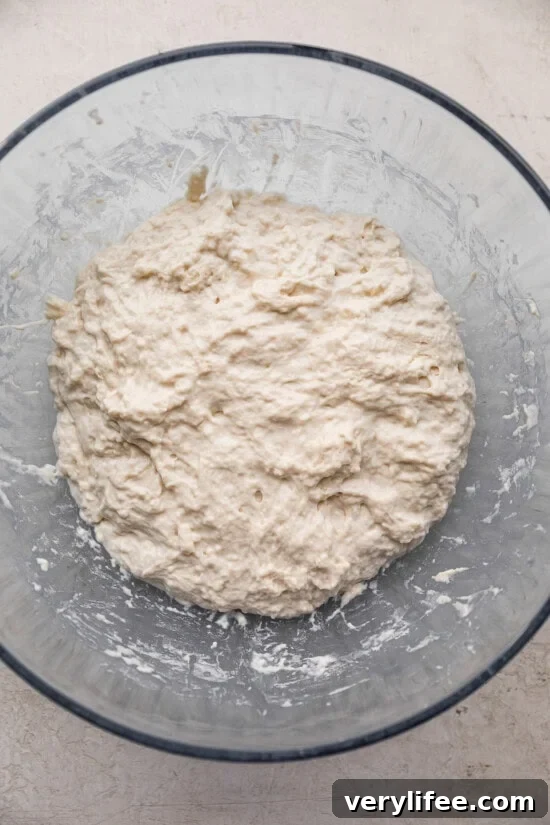
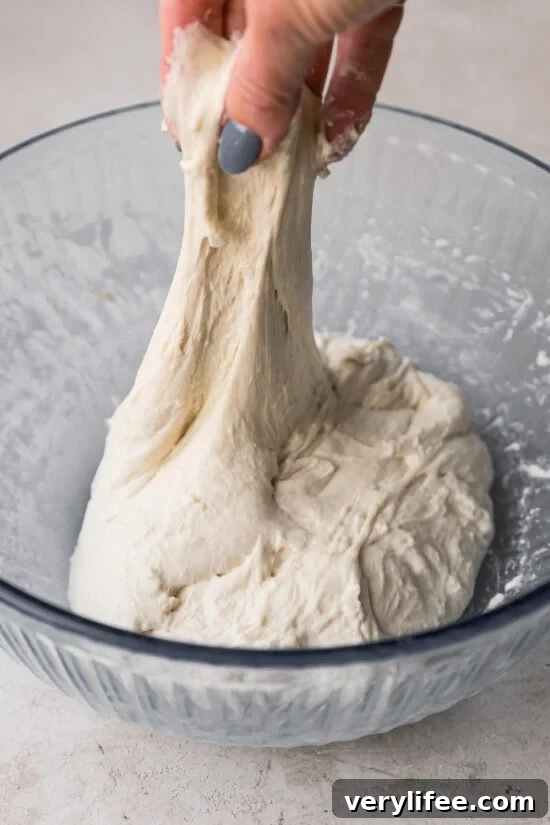
In a large bowl, combine the active starter, warm water, and salt. Mix, then add the flour and stir until a shaggy, sticky dough forms. Cover with a damp towel and rest for 30 minutes.
3. Stretch and Folds
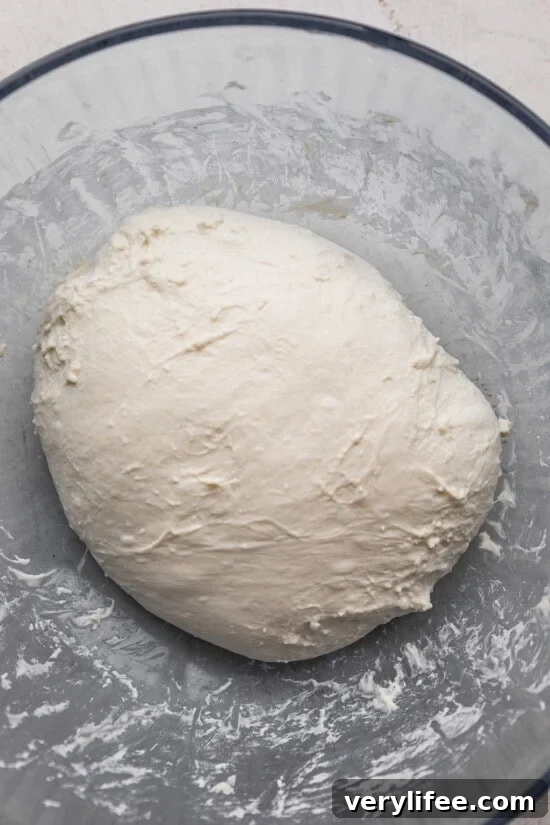
After the initial rest, wet your hand and gently stretch and fold one side of the dough to the center. Rotate and repeat 4–5 times. Cover and rest 30 minutes. Repeat this series three more times (every 30 minutes). Two rounds will still work if you’re short on time.
4. Bulk Fermentation (First Rise)
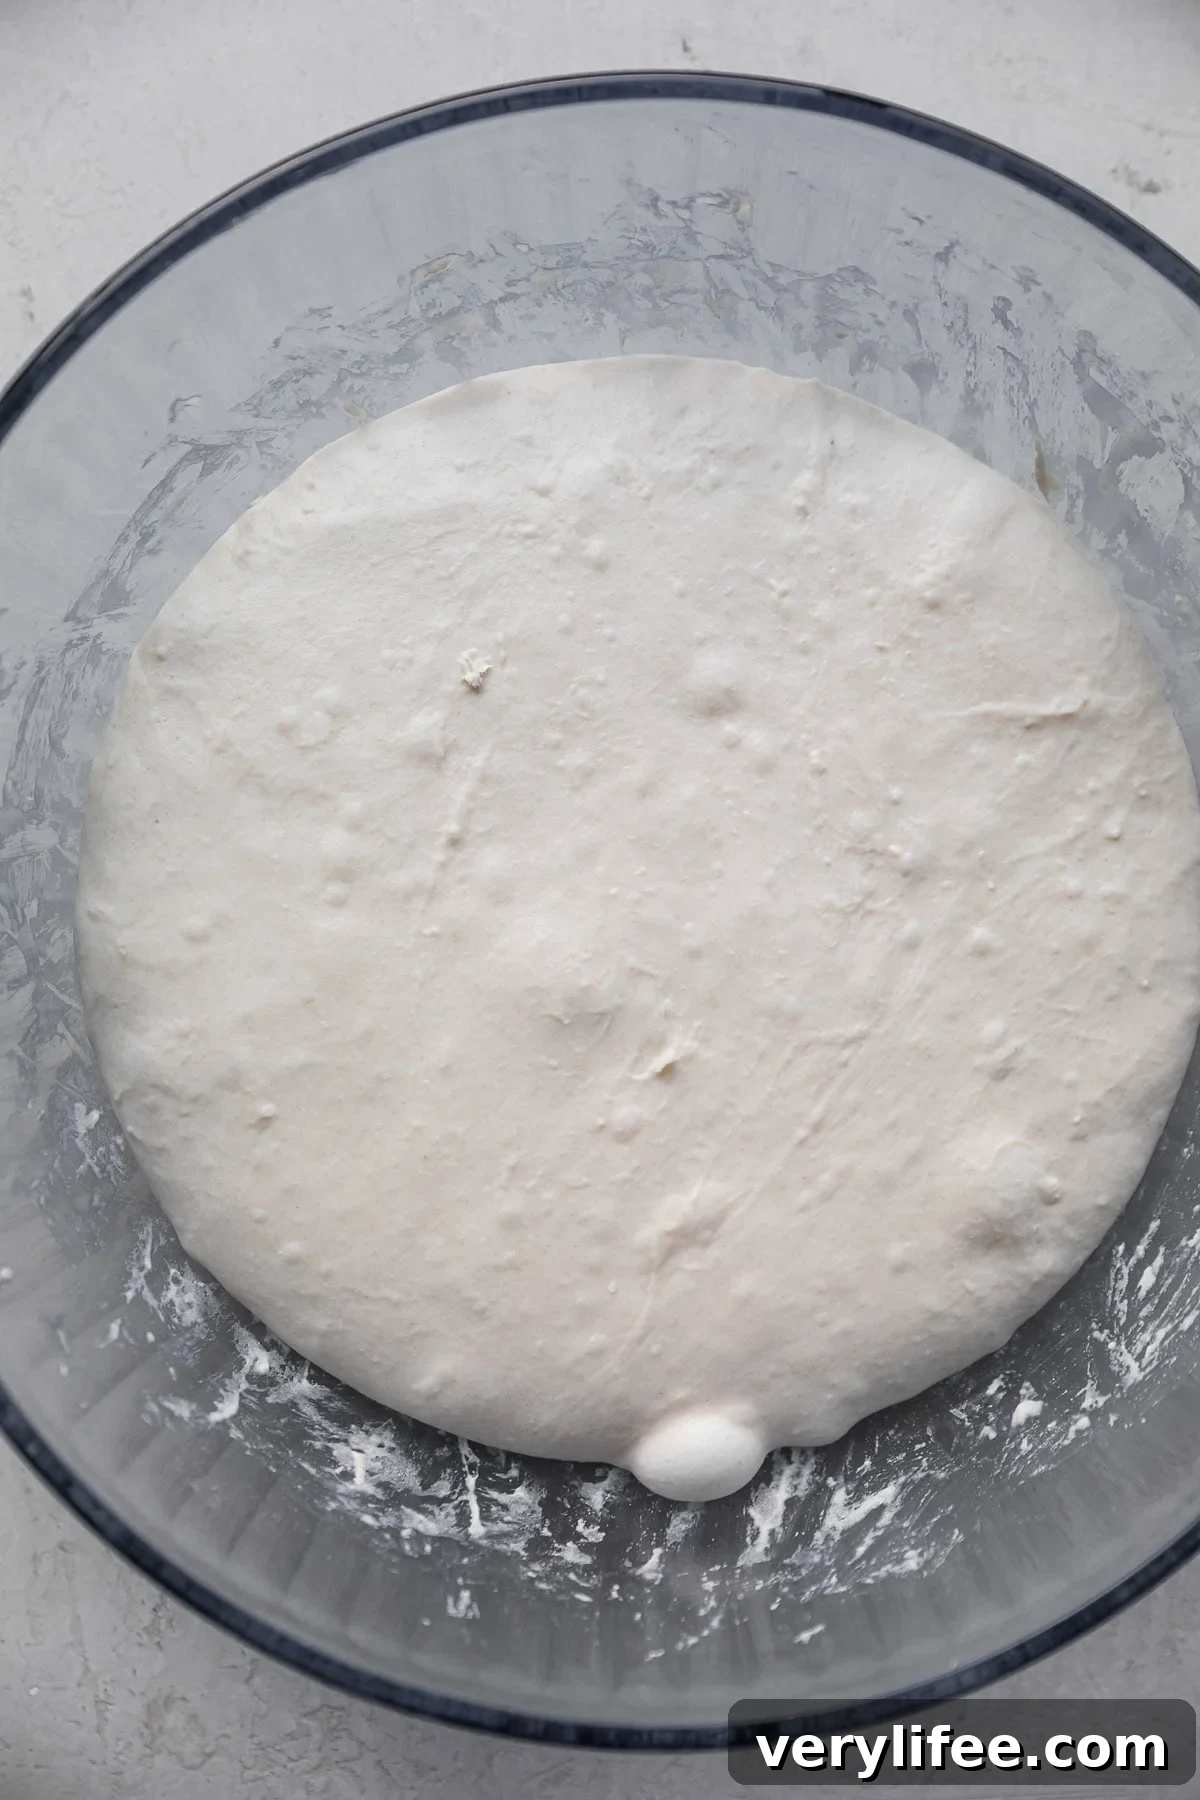
After the final fold, cover and let the dough rise for 6–7 hours at room temperature (longer in cooler kitchens). The dough should increase by about 50–70%, show bubbles, and gently jiggle when the bowl is moved.
5. Pre-Shape
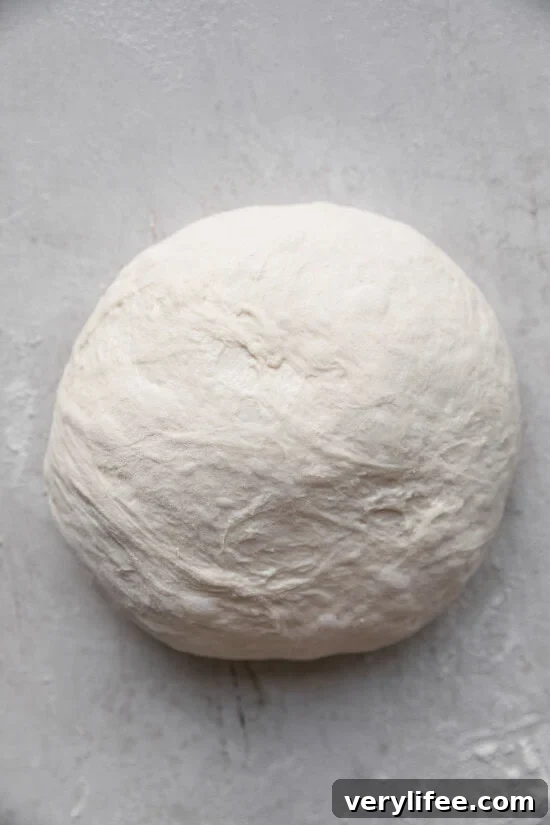
Turn the dough onto a lightly floured surface. Gently fold the edges into the center to form a round. Let it rest uncovered for 15–30 minutes to relax the gluten, then create surface tension by pulling the dough toward you to tighten the round.
6. Final Shaping
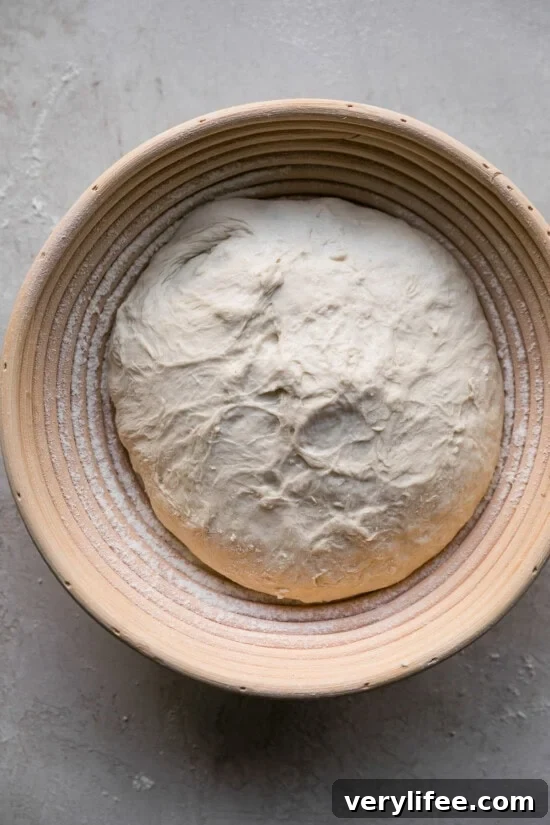
Dust a banneton or mixing bowl lined with a floured towel. Fold the dough again to increase tension, place it seam-side up in the basket, and cover.
7. Cold Fermentation (Second Rise)
Refrigerate the shaped dough overnight or up to 24 hours. This cold proof improves flavor and texture and fits well into a flexible schedule. If you prefer to bake the same day, let the dough rest at room temperature for 1–2 hours until puffy.
8. Bake
- Preheat oven to 450°F. Some bakers preheat the Dutch oven inside the oven, but if your oven tends to burn bottoms, preheat just the oven or place a protective layer beneath the pot.
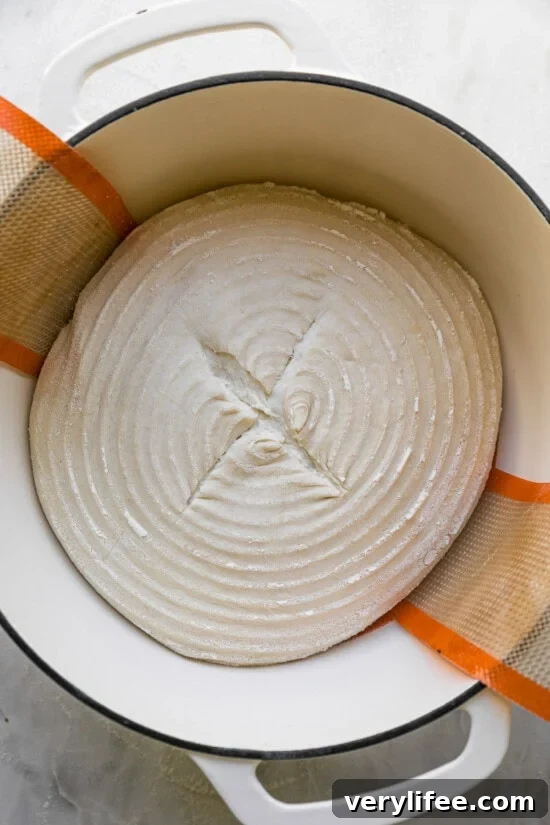
- Cut parchment to fit the pot. Turn the dough out onto the parchment, score the top with a razor or sharp knife (a simple “X” is classic), then lift the dough into the hot Dutch oven using the parchment.
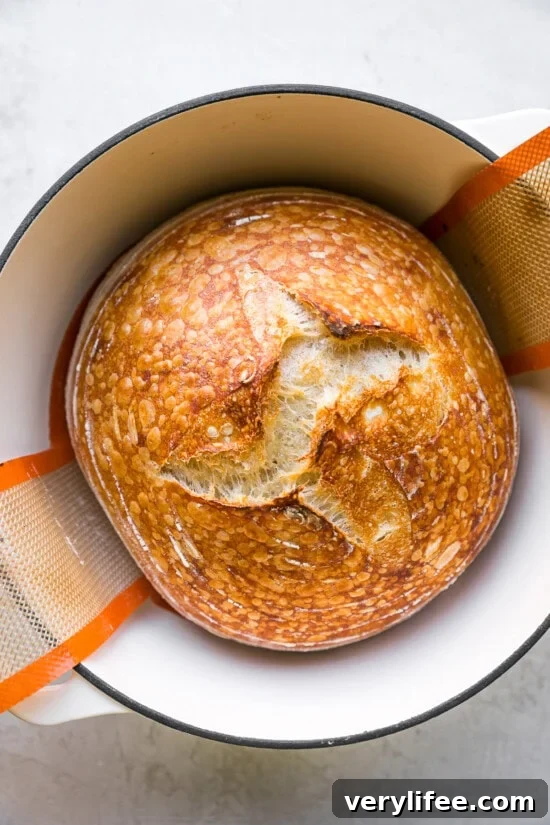
- Cover and bake at 450°F for 30 minutes. Remove the lid, lower the oven to 400°F, and bake uncovered for 25–30 minutes, until the crust is deep golden and the loaf sounds hollow when tapped. An internal temperature of 205–210°F indicates doneness.
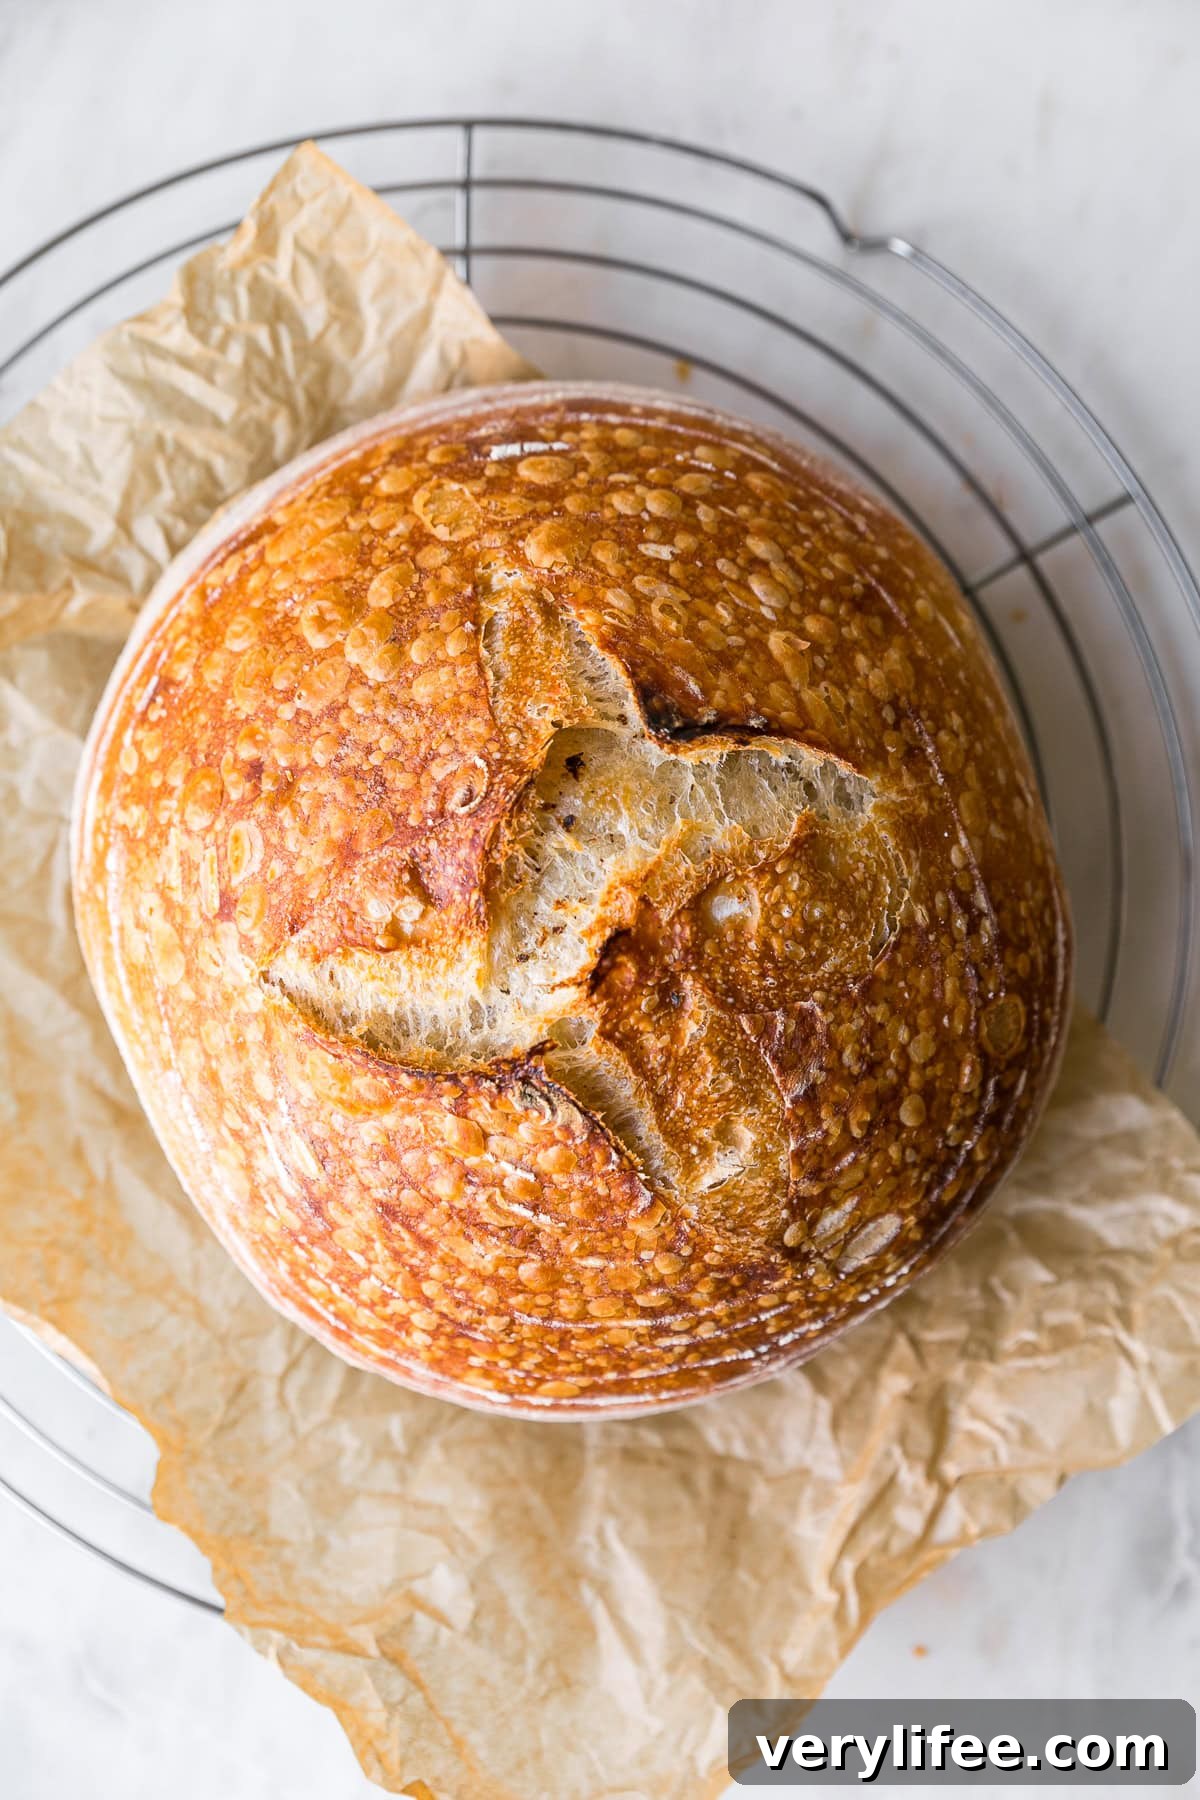
- Cool the loaf on a wire rack at least 1 hour before slicing to complete the crumb set.
Variations
Once you’re comfortable with the method, experiment with different flours—whole wheat, rye, or mixed whole grain blends—to add flavor and texture. Adjust hydration slightly when using heavier flours.
After Baking: What to Do with Leftover Starter
If you’re not baking again soon:
- Keep 25 g of starter.
- Feed with 50 g flour + 50 g water, let sit 1–2 hours, then refrigerate covered.
- If you plan to bake the next day, keep the fed starter at room temperature overnight and continue your feeding schedule.
Ways To Enjoy Sourdough Bread
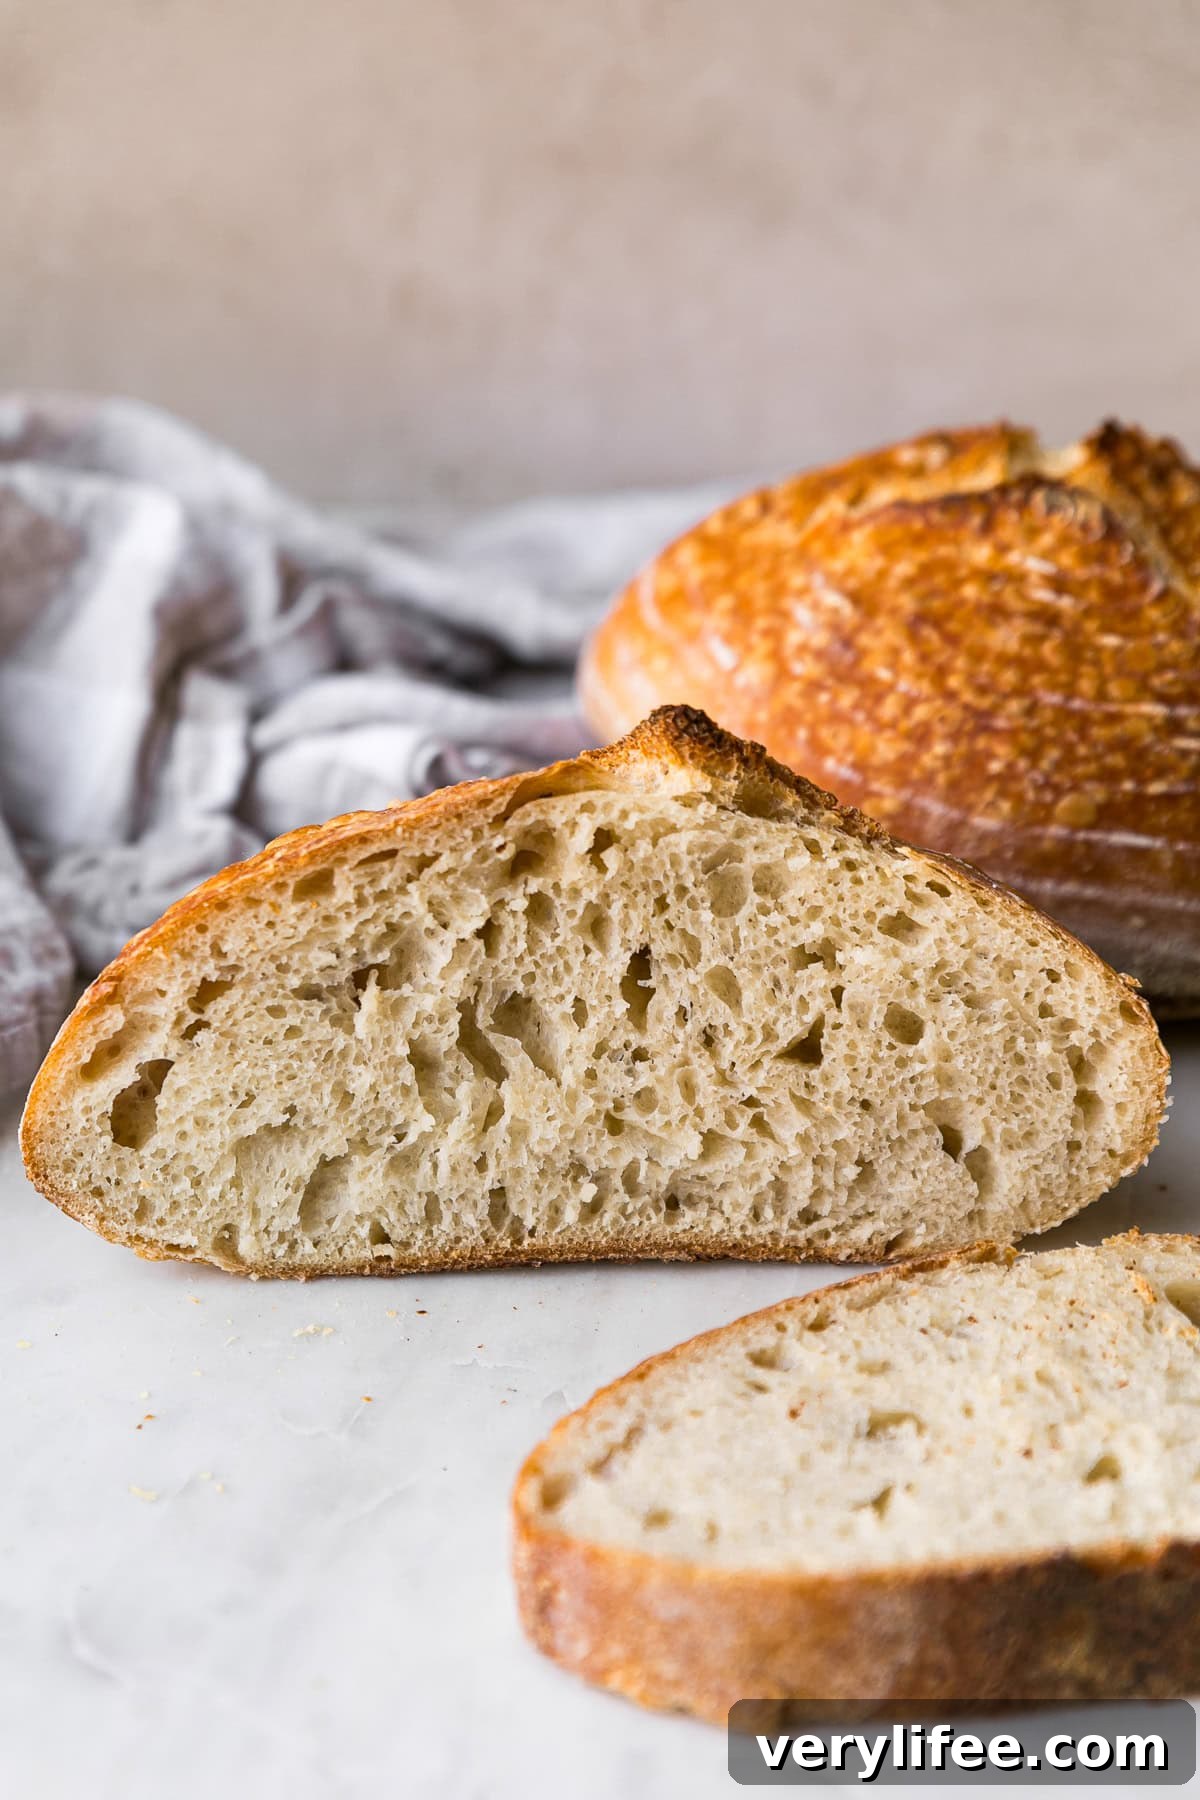
Fresh from the oven with butter is unbeatable. This bread is also excellent for soaking up broths in savory stews or soups. Leftovers toast beautifully and make great avocado toast, mushroom toast, grilled cheese, or open-faced sandwiches—perfect for breakfast or lunch.
Sourdough Discard Ideas
- Sourdough discard waffles or pancakes
- Use discard in quick breads and crackers
Recipe — Ingredients
- 50–100 g ripe, bubbly active starter (about 1/4 to 1/2 cup; 100 g recommended)
- 350–375 g warm water (use less in humid weather)
- 500 g bread flour or all-purpose flour (about 4 cups + 2 tbsp)
- 10–12 g fine sea salt
Recipe — Instructions (Summary)
- Feed starter so it’s active and doubled.
- Mix starter, water, and salt. Add flour and combine into a shaggy dough. Rest 30 minutes.
- Perform 4 sets of stretch-and-folds every 30 minutes (or at least two sets).
- Bulk ferment 6–7 hours at room temp or longer in cool conditions.
- Pre-shape, bench rest 15–30 minutes, then final shape and place seam-side up in a floured proofing basket.
- Cold-proof overnight in the refrigerator (or 1–2 hours at room temp if baking same day).
- Score and bake in a preheated Dutch oven at 450°F for 30 minutes covered, then 25–30 minutes at 400°F uncovered until deeply browned.
- Cool at least 1 hour before slicing.
Notes: The loaf will keep at room temperature for up to 3 days in an airtight container, or it can be frozen after slicing. For best flavor, enjoy on the day it’s baked.