
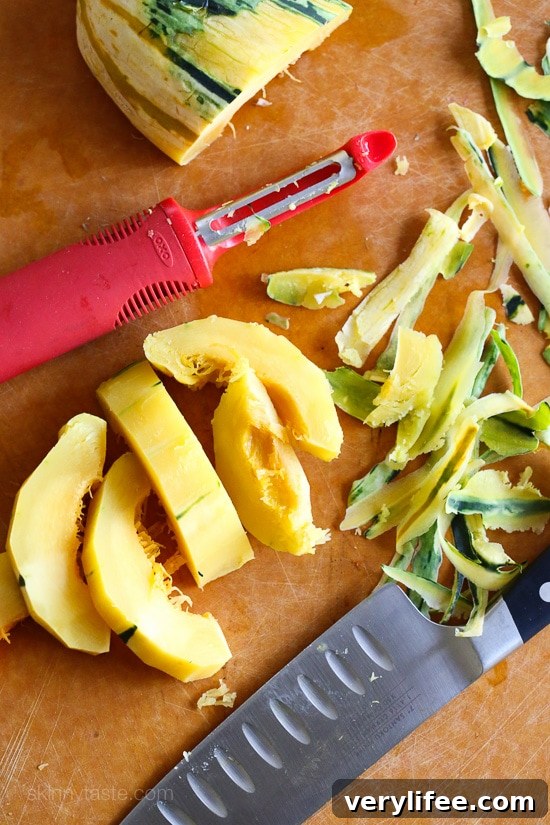
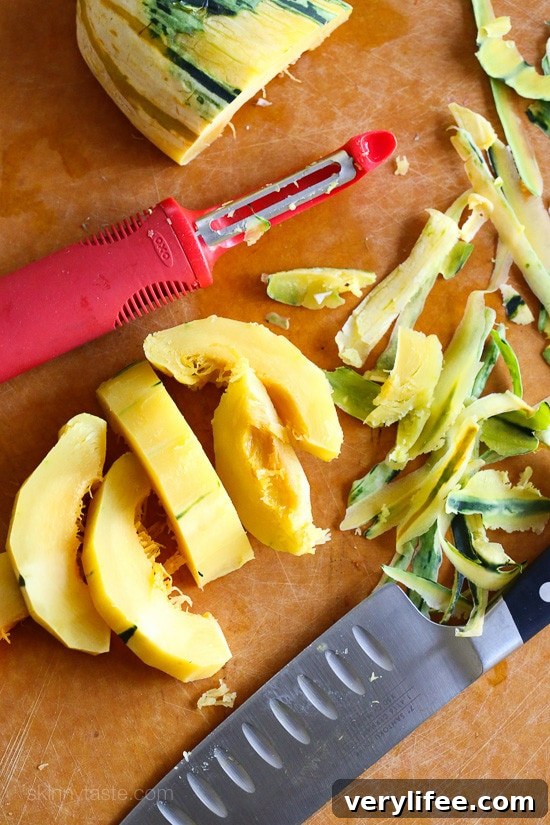
If you enjoy roasting winter squash varieties like butternut, delicata, acorn, or kabocha but dislike the effort and risk of cutting and peeling them, here’s a simple, time-saving technique that makes the task much easier and safer. This method softens the skin so it peels away with minimal effort, reducing the chance of slips and knife injuries while saving time in the kitchen.
Someone recently shared this tip in response to a roasted squash recipe, so I tested it and it worked beautifully. Below you’ll find step-by-step instructions, timing guidance, safety tips, and a few quick serving ideas so you can put your squash straight into a favorite recipe once it’s prepped.
Step One:
Prick the squash all over with a fork or the tip of a sharp knife. This releases steam during microwaving and helps the squash soften evenly. Be sure to make several punctures spaced around the surface.
Step Two:
Place the pierced squash in the microwave and heat it for a short interval. Small squash often need about 2 minutes, medium squash usually 3–4 minutes, and larger squash may require 5–8 minutes. Microwaves and squash sizes vary, so start with a shorter time and add more if the squash is still very firm. The goal is to soften the skin and flesh enough to make peeling and cutting easier—not to fully cook it unless you want it cooked through.
Step Three:
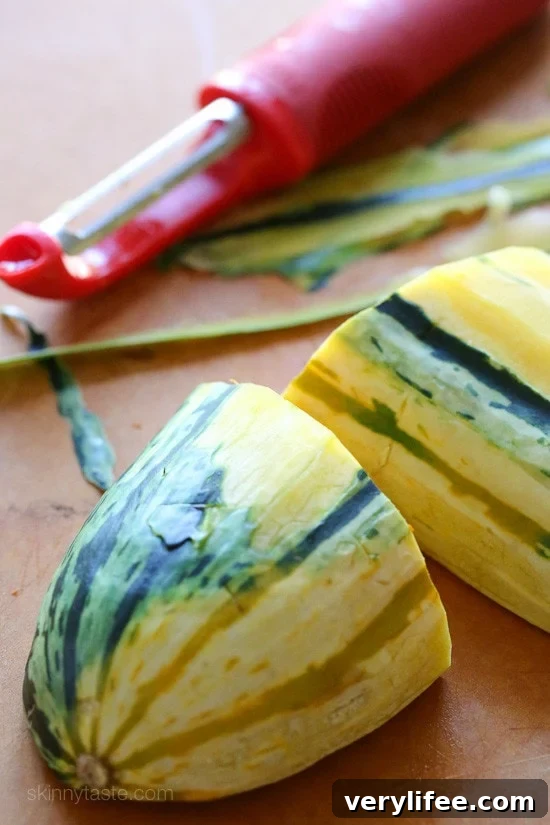
Allow the squash to cool on the counter until it is safe to handle. The outer skin should have softened and separated slightly from the flesh. Use a vegetable peeler, a sharp paring knife, or your hands (with caution) to remove the skin. Then cut the squash open and scoop out the seeds, or slice it into the desired shapes for roasting or steaming. The softened skin should come off with far less effort than starting from raw, unheated squash.
Why this works
Microwaving gently softens the skin and underlying flesh, loosening the bond between them. That makes peeling safer and quicker than trying to shave the tough skin with a peeler or struggling to stabilize a hard squash on the cutting board. The small punctures let steam escape so the squash doesn’t build up internal pressure.
Safety tips
- Always pierce the skin before microwaving to prevent the squash from bursting.
- Use an oven mitt or towel when removing the squash from the microwave—steam and surfaces can be hot.
- Let it cool enough to handle comfortably before cutting. Rushing while it’s very hot increases the risk of slipping and cutting yourself.
- Stabilize the squash on a non-slip surface or use a damp kitchen towel under the cutting board for extra grip.
Tools and alternatives
A regular vegetable peeler works well on squashes once the skin has softened. A serrated peeler or a sharp chef’s knife can also make short work of the skin. If you prefer not to use a microwave, you can roast the whole squash at 375°F–400°F (190°C–200°C) until the skin yields—this takes longer but produces a roasted flavor.
Quick cooking ideas
After peeling and cutting, toss squash cubes with olive oil, salt, pepper, and your favorite herbs, then roast at 400°F (200°C) until tender and caramelized. Use peeled squash in soups, purees, casseroles, or as a simple side dish. Delicata can be sliced into rings and roasted with spices for a fast, crisp result.
Storage and leftovers
Store cut or cooked squash in an airtight container in the refrigerator for 3–5 days, or freeze portions for longer storage. Cooked squash freezes well for use in soups, stews, purees, and baked dishes.
This quick microwave trick avoids awkward knife work and makes preparing winter squash more approachable—perfect for weeknight meals or when you want to batch-prep squash for recipes throughout the week.