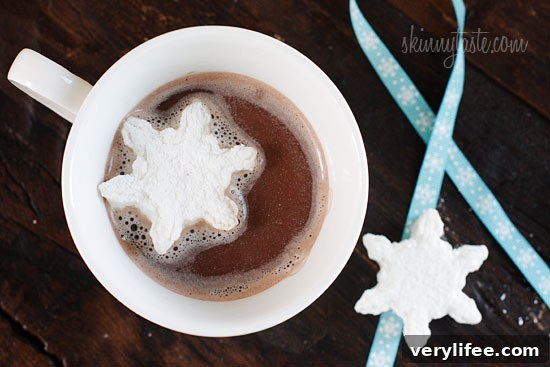
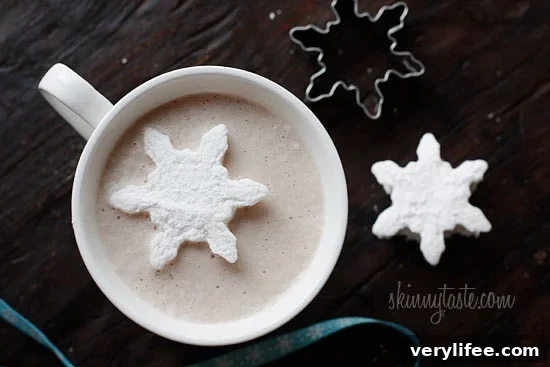
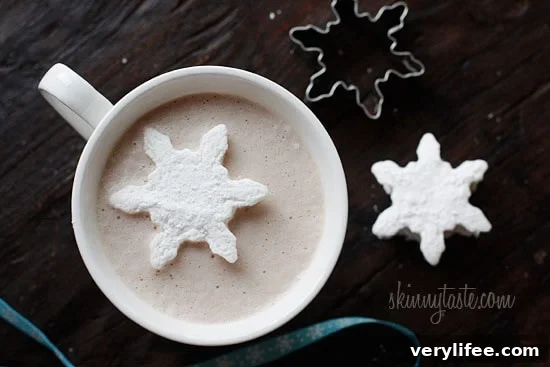
There’s nothing cozier than a steaming mug of hot cocoa on a chilly evening — especially when it’s topped with homemade vanilla bean marshmallows cut into charming snowflake shapes.
 Homemade Vanilla Bean Marshmallows
 Homemade Vanilla Bean Marshmallows
These marshmallows make a thoughtful homemade holiday gift and are a lovely finishing touch for hot drinks, s’mores, or bake-sale treats. If you enjoy small kitchen projects, this is a simple, rewarding recipe that delivers soft, airy marshmallows with the fragrant flecks of a real vanilla bean.
I adapted a classic recipe and replaced corn syrup with light agave syrup, and added both scraped vanilla bean seeds and a touch of vanilla extract for depth. The process is straightforward, but a candy thermometer and a stand mixer will make the job much easier and safer.
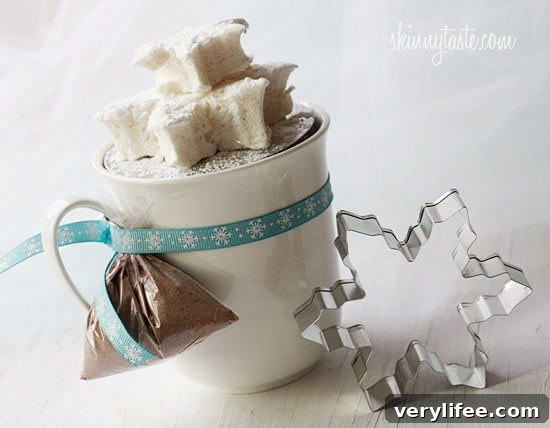
These marshmallows are perfect for floating in hot cocoa, assembling into gourmet s’mores, or packaging as handmade gifts. Cut them with cookie cutters for festive shapes or slice into squares and store them in an airtight container — either way they look and taste delightful.
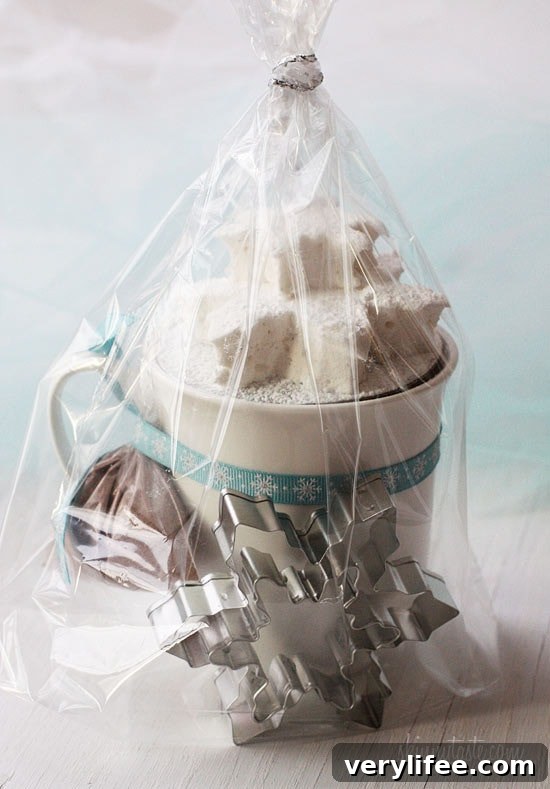
Making marshmallows at home is a fun activity for adults and older children when hot syrup steps are handled by an adult. My daughter loved helping assemble hot chocolate and enjoyed watching the marshmallows take shape. If you like crafting, these can be part of creative gift packaging ideas — ribbons, jars, and seasonal tags make for beautiful presents.
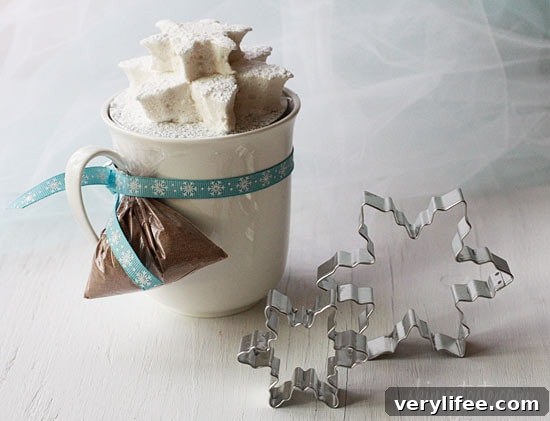
These marshmallows are very sweet, so a little goes a long way — a couple of marshmallows in a cup of cocoa is enough to make it special.
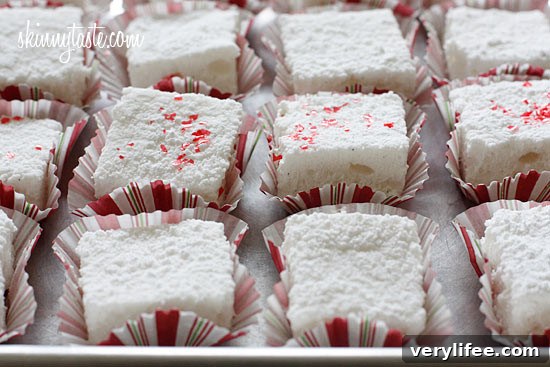
Homemade Vanilla Bean Marshmallows
Soft, fluffy marshmallows flavored with vanilla bean and vanilla extract. Excellent for hot cocoa, s’mores, or handmade gifts.
Yield
Approximate yield: 44 servings (serving size: 2 marshmallows)
Prep & Cook Time
- Prep: 35 minutes
- Cook: 5 minutes
- Total: 40 minutes (plus overnight resting)
Ingredients
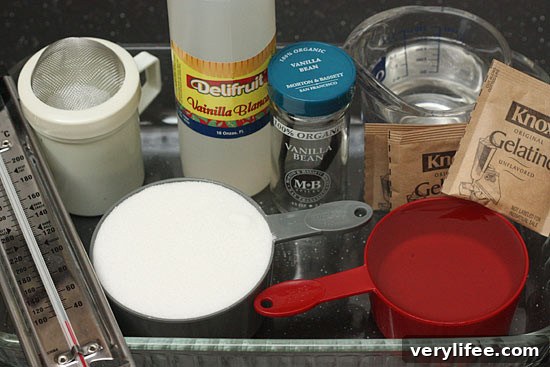
- 3 packets unflavored gelatin
- 1 cup cold water, divided (1/2 cup for gelatin, 1/2 cup for syrup)
- 1 1/2 cups granulated sugar
- 1 cup light agave syrup
- 1/4 tsp kosher salt
- 1 tbsp vanilla extract
- 1 vanilla bean, seeds scraped
- 2 tbsp confectioners’ sugar, for dusting
Instructions
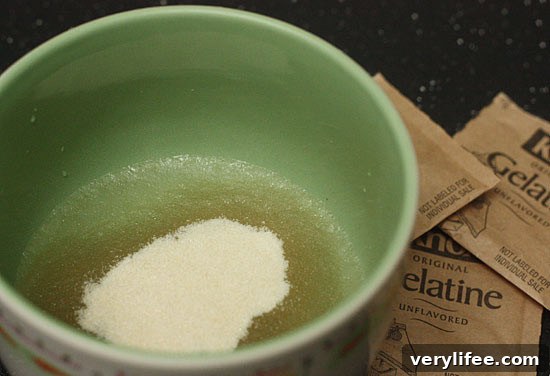
- Sprinkle the gelatin over 1/2 cup of cold water in a small bowl and let it bloom while you prepare the syrup.
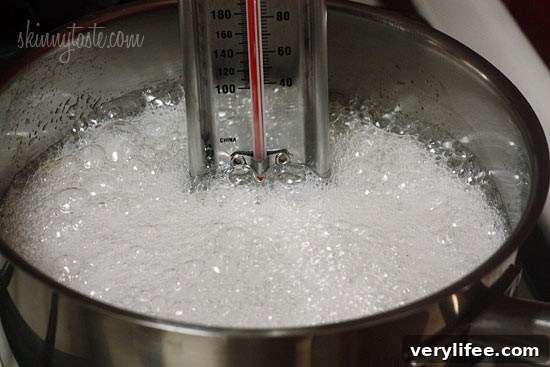
- In a medium saucepan, combine the granulated sugar, agave syrup, kosher salt, and the remaining 1/2 cup of water. Cook over medium heat until the sugar dissolves, stirring gently to combine.
- Increase the heat to high and cook the syrup carefully until it reaches 240°F (116°C) on a candy thermometer. Watch closely to prevent boilovers — hot sugar can cause severe burns.
- Remove the syrup from the heat.
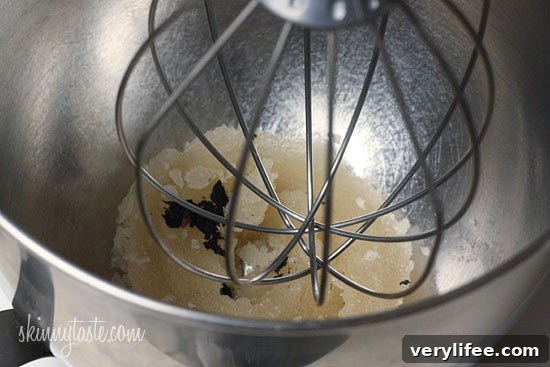
- Place the bloomed gelatin and the scraped vanilla bean seeds into the bowl of a stand mixer fitted with the whisk attachment.
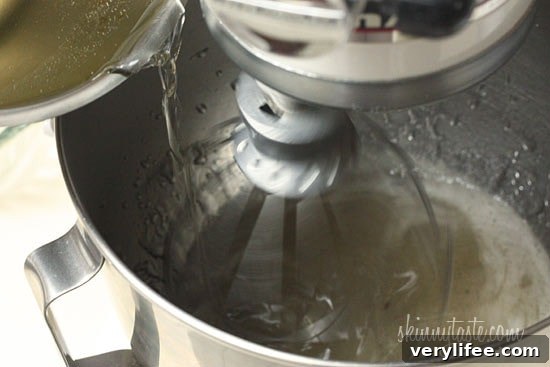
- With the mixer running on low, slowly pour the hot sugar syrup into the gelatin. Take extreme care to avoid splashing; do not let children handle the hot syrup.
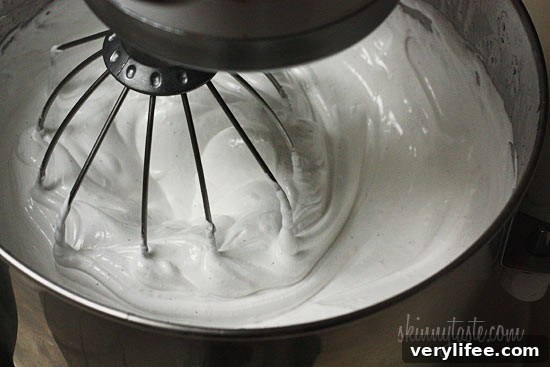
- Increase the mixer speed to high and whip the mixture until it becomes very thick, glossy, and noticeably expanded — about 15–20 minutes. Add the vanilla extract toward the end of whipping.
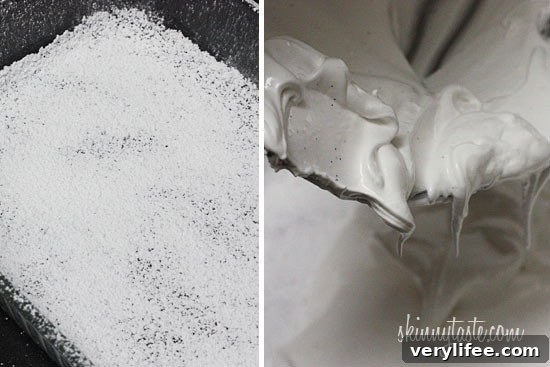
- Generously dust the bottom and sides of a 12 x 17-inch jelly roll pan or a large glass baking dish with confectioners’ sugar using a sieve. This prevents sticking and makes unmolding much easier.
- Pour the whipped marshmallow into the prepared pan, smooth the top, and dust the surface with more confectioners’ sugar.
- Let the marshmallows sit uncovered at room temperature overnight to set and dry slightly.
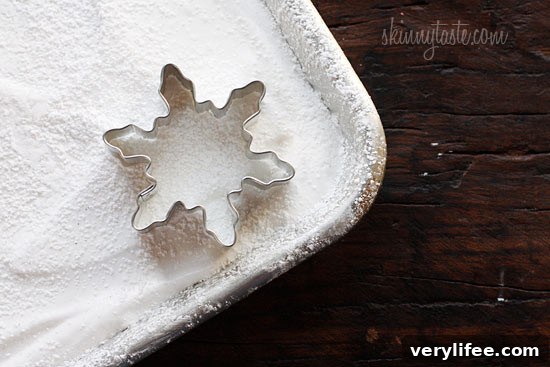
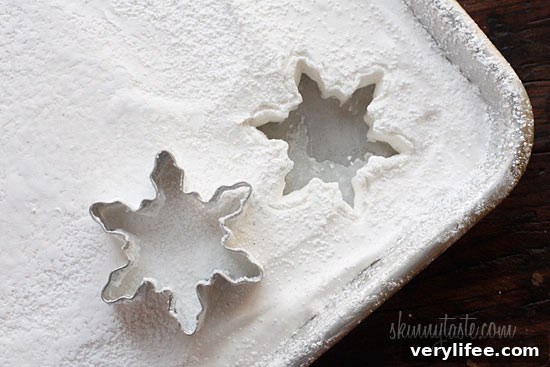
- Once set, use cookie cutters to create shapes (for snowflakes or seasonal designs) or turn the marshmallow slab onto a board dusted with confectioners’ sugar and cut into squares.
- Lightly dust cut marshmallows with additional confectioners’ sugar to keep them from sticking when storing.
Notes
*Yield and nutrition will vary depending on the size and thickness of your cutouts. A jelly roll pan works well to achieve the ideal thickness for cookie-cutter shapes. If the pan is too deep, marshmallows may be too thick.
Recipe adapted from a classic homemade marshmallow method.
Tips & Storage
- Use a candy thermometer for accurate syrup temperature.
- A stand mixer speeds whipping and yields better volume than a hand mixer.
- Store marshmallows in an airtight container at room temperature for up to one week. For longer storage, layer parchment between pieces to prevent sticking.
- Be cautious when handling hot sugar syrup — wear oven mitts and keep children away during that step.
Nutrition (approximate)
Serving: 2 marshmallows — Calories: 52 kcal; Carbohydrates: 13 g; Protein: 0.4 g; Sodium: 13 mg; Sugar: 13 g.
Final Note
If you try this recipe, consider sharing a photo of your finished marshmallows or leaving a rating and comment about how it turned out. Homemade marshmallows are a simple pleasure — perfect for gifting and warming up winter evenings.