


Create charming DIY gingerbread tree ornaments from gingerbread cookies — a joyful, family-friendly holiday project that fills the house with the scent of spices.
This past weekend we picked out our Christmas tree and decided to spend Sunday making homemade ornaments. Now that Madison is five, she loved the hands-on part and my older daughter Karina joined in, too. We played Christmas music, laughed a lot, and the whole house smelled like warm gingerbread — the perfect family activity to get everyone away from screens and into the kitchen.

Making gingerbread cookie ornaments is simple and flexible. Use your favorite cookie cutters — I chose stars while Madison picked a variety of shapes — and a piece of thin twine for hanging. To create the hanging hole, I used the tip from a piping bag which makes a neat round opening. My girlfriend, who leads a Girl Scout troop, loved the idea and plans to try this with her girls.
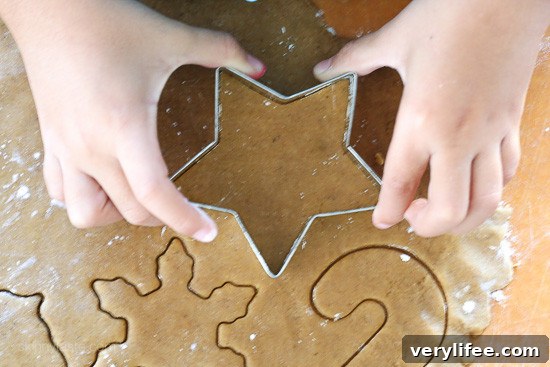
I used my basic gingerbread cookie recipe (see the original recipe for full ingredients and measurements); that batch yielded about 60 small star-shaped ornaments. Your yield will vary depending on the size and shape of the cookie cutters you use.
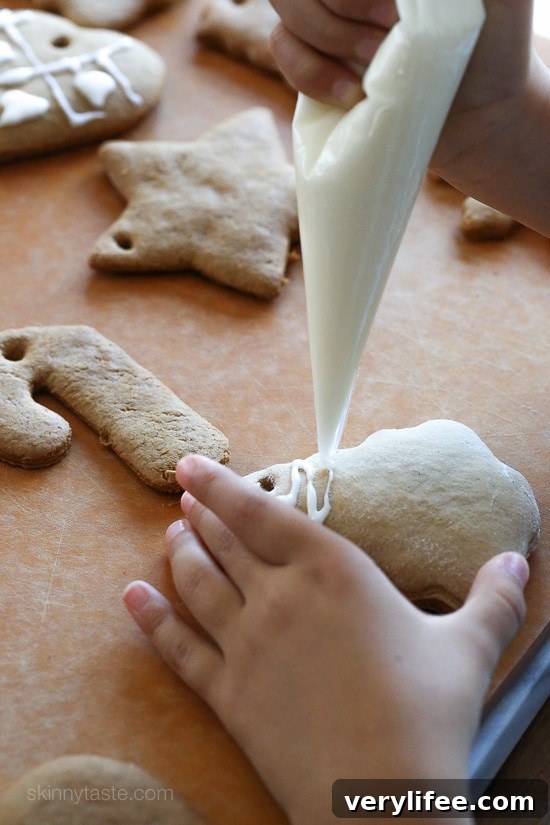
When we finished, Madison hugged me and declared it the Best. Day. Ever. It was a simple Sunday filled with making memories and creating ornaments we’ll enjoy for years. Below are clear steps to guide you through making your own DIY gingerbread tree ornaments.

DIY Gingerbread Tree Ornaments
Makes about 60 ornaments (depending on cutter size)
What you’ll need:
- 1 batch gingerbread cookie dough and royal icing (use your preferred recipe)
- Thin twine or ribbon for hanging
- Round piping tip or similar small round tool to cut hanging holes
- Baking sheets
- Silpat liners or parchment paper
- Extra flour for dusting the work surface
- Rolling pin
- Assorted cookie cutters (stars, trees, hearts, etc.)
Directions:
You can use any gingerbread dough you like. I use a basic sturdy dough that holds its shape well for ornaments. Prepare your royal icing — you may want to double the amount if you plan to decorate each cookie elaborately. You only need food coloring if you want colored icing.
Preheat the oven to 350°F (175°C). Generously dust your work surface with flour before rolling out the dough. Work with one chilled portion of dough at a time and keep the remaining dough refrigerated to stay firm and easy to roll.
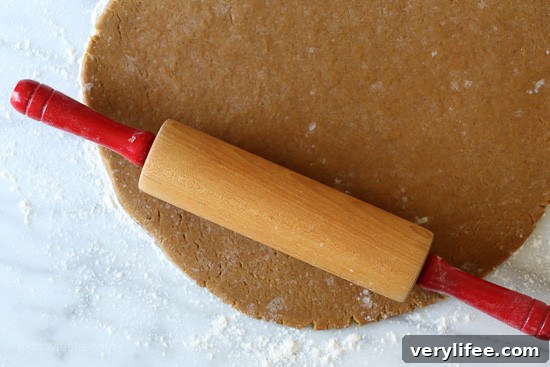
Roll the dough to about 1/8-inch thickness. If the surface is sticky, lightly dust the dough with flour. Dust your cookie cutters with flour so they release easily, then cut out shapes.

Use a round piping tip or a similar small round tool to punch a hole near the top of each ornament for threading the twine later. Make the hole large enough to pass your chosen twine or ribbon through after baking.

Place the cut cookies 1–2 inches apart on a silpat- or parchment-lined baking sheet. Bake for 10–12 minutes or until set. Baking times vary by size, so watch closely to prevent overbrowning.

Let cookies cool completely on a wire rack. Once cool, use royal icing to pipe decorative patterns — simple dots and lines look lovely, or get creative with festive designs.

Allow the icing to dry thoroughly before handling. I found it easiest to thread and tie the twine after the icing was fully set to avoid smudging decorations.

Tips and variations:
- To make the ornaments last longer, bake slightly longer at a lower temperature to evenly dry them out without burning.
- Use powdered sugar or edible glitter sparingly for a frosted look.
- Personalize ornaments by piping initials or the year for keepsakes.
- Store undecorated cookies in a cool, dry place and decorate soon after baking. Finished ornaments keep best in an airtight container if you plan to reuse them, but note that humidity can soften them over time.
Pin It To Save For Later!