A high-quality wood cutting board is an essential tool in any kitchen, but over time, daily use can leave it looking dull, stained, or even with a persistent, funky odor. Proper care is not just about aesthetics; it is critical for the longevity of the wood. Without the correct cleaning and drying practices, your board runs the risk of cracking, warping, and splitting. Fortunately, revitalizing your board is simple. This guide provides the best methods for everyday cleaning, deep stain and odor removal, and conditioning to keep your wood looking beautiful and lasting as long as possible.
Materials Needed
- Bench scraper, back of a knife, or fork
- Dish soap (highly concentrated)
- Non-scratch scrub sponge
- Warm water
- Towel
- Coarse salt
- 1 Lemon
- Food grade mineral oil or walnut oil
- Paper towels (optional)
- Beeswax or board cream (optional)
Instructions
Part 1: Everyday Cleaning (After Each Use)
- Scrape Excess Food: After using the board, scrape off any excess food particles on the surface using a bench scraper, the back of a knife, or a fork.
- Rinse and Soap: Rinse the board quickly with water. Apply a few drops of dish soap to the surface, remembering that a little goes a long way because the soap is highly concentrated.
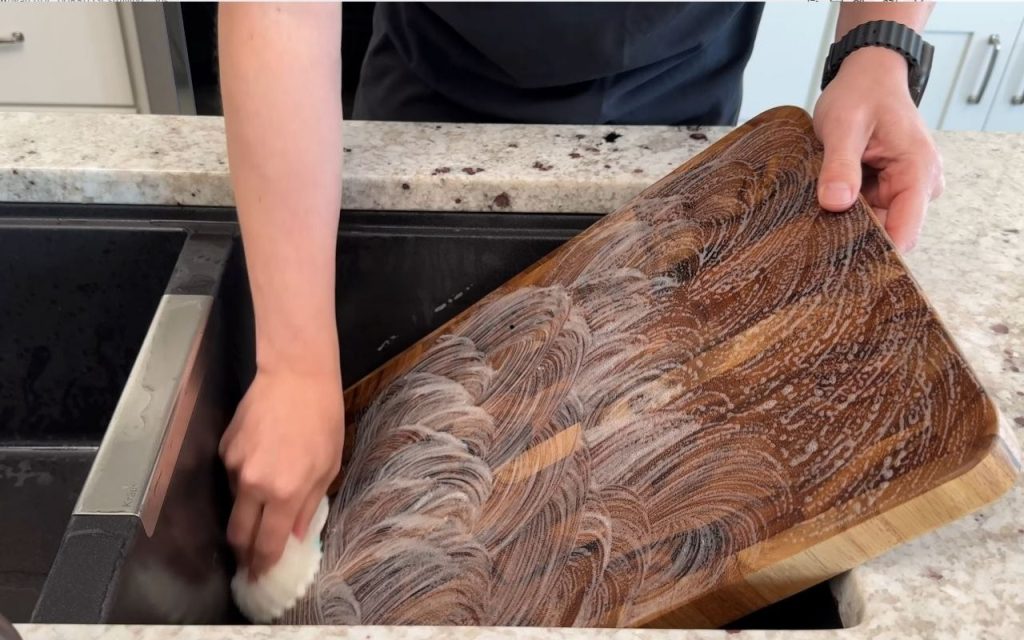
- Scrub Thoroughly: Use a non-scratch scrub sponge to scrub down the entire area. When cleaning, it is very important to wet the entire board, including the underside, even if it was not used. If the board is not fully wetted, it can crack and warp as it dries.
- Rinse Well: Rinse the entire board thoroughly with warm water, ensuring no soap residue is left behind.
- Initial Dry: Immediately grab a towel and wipe down the entire board to remove the first layer of moisture from the surface.
- Air Dry (Crucial Step): Lean the board against a wall or counter at an angle. This method is important because it allows air to travel around the entire board so that moisture can evaporate evenly. In most cases, letting it sit like this overnight will result in it being completely dry by morning.
Part 2: Deep Cleaning for Odor and Stains (Lemon and Salt)
If your board has a stinky odor or staining, this method is highly effective.
- Pre-Clean: Before starting the deep clean, always clean the board first with dish soap and water as you would for everyday cleaning, as this removes the first layer of grime.
- Apply Salt: Spread coarse salt evenly across the surface of the board.
- Scrub with Lemon: Cut a lemon in half and use it to scrub the board. Kind of squeeze the lemon juice onto the board while scrubbing. This natural option cleans the board and helps pull out anything remaining that could be causing odors, leaving it smelling lemony fresh.
- Allow to Sit: Allow the lemon and salt mixture to sit on the surface for a minimum of 5 to 15 minutes so the ingredients have time to work and suck out the odors.
- Final Rinse and Dry: Give the board a quick scrape and rinse, then dry it as quickly as possible.
Part 3: Conditioning and Restoration (Oiling)
It is suggested to condition your board about once a month, or whenever it starts to look dry and dull. This step helps prevent cracking and splitting and restores the wood’s beauty.
- Apply Oil: Apply a little bit of food grade mineral oil or walnut oil to the dry board. If your board has slight discoloration after cleaning, it will typically even out once oiled.
- Work in the Oil: Work the oil into the wood in a circular motion using a cloth or towel. Ensure the entire board is evenly oiled, including the sides and the bottom, as the wood needs hydration just like skin.
- Drying After Oiling: Once finished oiling, it is important to let the board dry for about 24 hours. Lean it against the wall at an angle, using the same method as after washing. You may place a few pieces of paper towel underneath if you don’t want the oil to transfer onto your countertop.
Part 4: Optional Sealing (Beeswax/Cream)
This is a Pro Tip that adds another layer of protection.
- Apply Cream: After the mineral oil has dried completely (wait the full 24 hours), apply beeswax or board cream to a towel and rub it into the board in a circular motion.
- Final Wait: Wait another 24 hours for the cream to dry. This process locks in moisture, keeps the board looking beautiful, and creates a protective layer that fights against bacteria.
Optional Tips
- Avoid the Dishwasher: Never wash your wood cutting board in the dishwasher.
- Do Not Soak: Never submerge the wood cutting board in water or let it soak, as excess moisture is damaging and can quickly ruin the board.
- Prevent Stains: It is best to clean your wood cutting board sooner rather than later after use. Allowing residue to sit for an extended period runs the risk of it soaking in and causing staining issues.
- Oil Selection Warning: Do not use olive oil or any vegetable oil to condition your board. While it may look acceptable initially, vegetable oils will eventually go rancid and start to stink, which will essentially ruin your board.
- Deep Clean Alternatives: If you absolutely dislike cleaning with vinegar, hydrogen peroxide can be sprayed down and allowed to sit to help kill bacteria on the board. Alternatively, white vinegar (undiluted for maximum power against odors or raw meat residue) can be sprayed evenly across the board and allowed to set for about 15 minutes.