If your grill is covered in burnt food or greasy buildup and you’re hesitant to use it, this step-by-step guide will show you the most effective way to clean it—inside and out—so you can enjoy safe and flavorful grilling all season long.
Why Regular Cleaning Matters
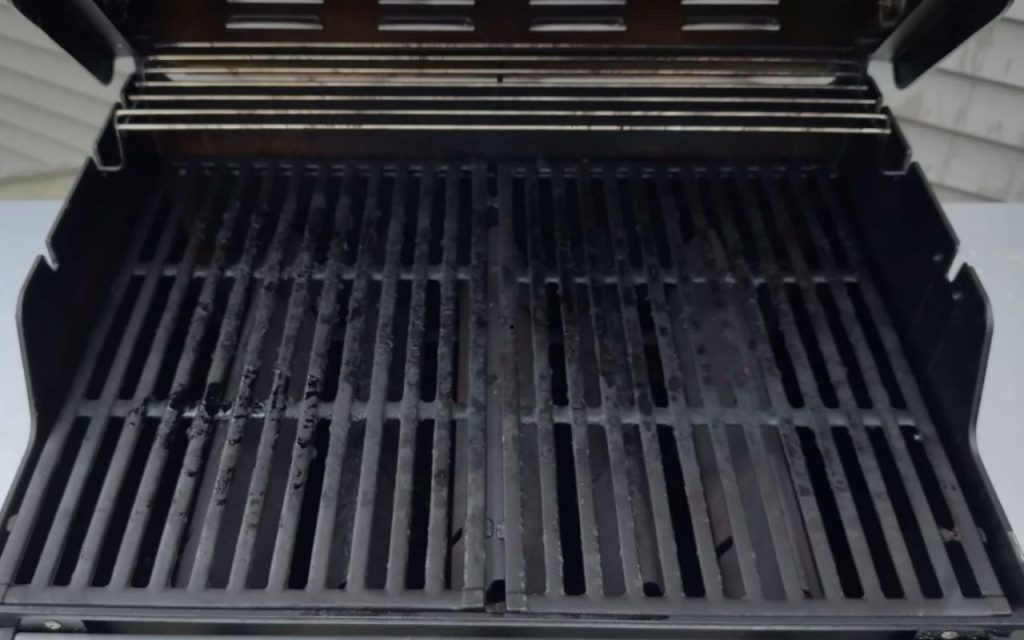
Cleaning your grill grates after every use may seem basic, but it’s essential. Built-up food and grease bake onto the grates during use, making them harder to clean later and negatively affecting your cooking results.
Recommended Tools
- Barbecue Daddy from Scrub Daddy
- Mr. Barbecue with Scrub Daddy pad
- Plastic putty knife
- Old toothbrush or small detailing brush
- Non-scratch scrub sponges
- Steel wool (grade 0000) – optional for tough spots
Why Use Steam Cleaners?
These tools are dipped in ice water and run over hot grill grates. The steam loosens grease and grime. Unlike traditional wire brushes, they don’t leave behind dangerous bristles that could end up in your food.
Common Concerns About Cleaning
Some worry that cleaning grates removes flavor. However, old food buildup leads to uneven heating, flare-ups, and unpleasant flavors sticking to fresh food. Regular cleaning results in better cooking performance and safety.
Deep Cleaning the Grill
Step 1: Disassemble the Grill
- Remove the grates, heat shields, and other internal components.
- Place parts into a large plastic bin or tote for soaking.
Step 2: Scrape Off Loose Debris
Use a plastic putty knife to scrape off large pieces of char from the interior and components before soaking. This makes degreasing more effective.
Step 3: Soak the Components
Fill the bin with water and add a degreaser such as:
- Dawn dish soap – gentle and effective for most cases
- Simple Green – stronger for heavier grease
- Zep Oven & Grill Cleaner – very powerful; test first
Step 4: Clean the Grill Interior
- Scrape all interior surfaces with the putty knife.
- Use a small brush to get into tight corners and edges.
- Remove the drip tray, scrape it clean, and add it to the soak bin.
- Wear gloves and old clothes, as this step can get messy.
Step 5: Optional Degreasing Spray
After scraping, if needed, apply degreasing sprays directly to the interior:
- Dawn Powerwash
- Simple Green
- Zep Oven & Grill Cleaner (never mix products)
Let the cleaners sit to break down grease. Then scrub with a Scrub Daddy or steel wool. Rinse thoroughly with a hose to remove residue.
Cleaning Soaked Components
- Scrub each piece from the bin using a Scrub Daddy or steel wool.
- Use the putty knife again if needed for stubborn grime.
- Rinse everything thoroughly with a hose to remove soap.
Perfection isn’t the goal—remove the majority of buildup and ensure safe use.
Cleaning the Grill Exterior
Step 1: Spray and Scrub
- Spray warm water mixed with dish soap on all exterior surfaces.
- Scrub using a non-scratch sponge, focusing on food residue spots.
Step 2: Rinse and Buff
- Rinse with a hose or damp microfiber towel.
- Dry with a clean microfiber cloth to avoid water spots and streaks.
Step 3: Addressing Rust and Dullness
Use Barkeeper’s Friend Soft Cleanser to remove rust and restore stainless steel shine. Especially helpful for hard water spots or weather-exposed grills.
Final Touches
- Reassemble the grill once all parts are dry.
- Turn the grill on high for 10–15 minutes to burn off any residue.
How to Keep Your Grill Clean
- Use a grill cover to protect from weather damage.
- Clean your grates after every use to prevent buildup.
- Perform a deep clean at least once a year to maintain performance and extend grill life.
Conclusion
With proper care and a thorough clean, your grill will not only look great but perform at its best. Regular maintenance saves you time and ensures a safer, more enjoyable grilling experience. Happy grilling!