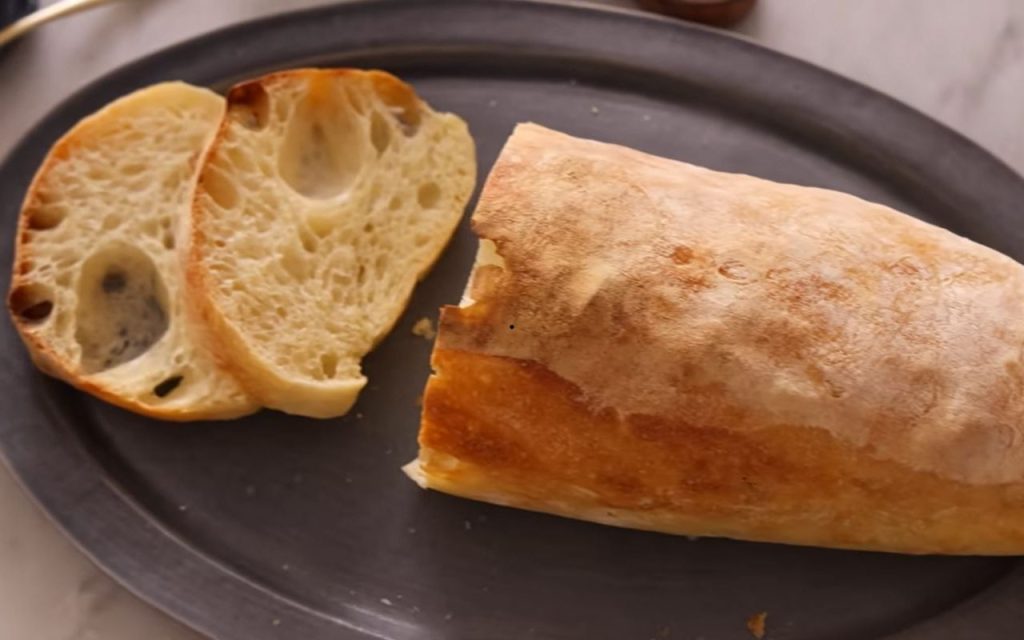
While often mistaken for an ancient traditional Italian recipe, Ciabatta was actually invented in 1982 by a baker named Arnaldo Cavallari as an Italian response to the popularity of the French baguette. Named “Ciabatta”—Italian for “slipper”—because of its shape, this bread is beloved for its crisp, crunchy shell and soft, highly hydrated interior.
This recipe uses a pre-ferment (sponge) and a long cold fermentation to develop deep flavor and that classic bubbly structure. The result is the perfect vessel for sandwiches or a delicious side to serve plain.
Ingredients
For the Sponge (Pre-ferment)
- 1 cup (120g) bread flour
- 1/2 tsp instant yeast
- 1/2 cup warm water (between 85°F and 90°F)
For the Dough
- The prepared sponge (from above)
- 2 2/3 cups (320g) bread flour
- 1 tbsp olive oil
- 2 tsp salt
- 1/2 tsp instant yeast
- 1 cup warm water (between 85°F and 90°F)
For Baking
- 1 cup ice cubes (for steam)
Instructions
1. Make the Sponge
In a medium bowl, whisk together 1 cup of bread flour, 1/2 teaspoon of instant yeast, and 1/2 cup of warm water. This will create a slurry that will become bubbly over time. Cover the bowl and let it rest in a cozy place for 3 to 3 1/2 hours, or until the mixture is very bubbly.
2. Mix the Dough
Once the sponge is ready, add the remaining 2 2/3 cups of bread flour, olive oil, salt, the additional 1/2 teaspoon of instant yeast, and 1 cup of warm water directly into the bowl with the sponge. Mix this vigorously with a spatula until the flour is absorbed. It will not be a smooth dough yet; it will look “shaggy” with nooks and crannies. Cover the dough and let it rest for 30 minutes.
3. Build Structure (Stretch and Fold)
To create the bread’s structure without traditional kneading, you will perform a series of “stretch and folds” over time.
- Set 1: With wet hands, grab one end of the dough, stretch it up, and fold it over the center. Rotate the bowl 90 degrees and repeat. Perform 8 total stretch-and-folds. Cover and rest for 30 minutes.
- Set 2: With wet hands, perform another 8 stretch-and-folds. Cover and rest for 30 minutes.
- Set 3: Repeat the process (8 stretches). Cover and rest for 30 minutes.
- Set 4: Perform the final 8 stretch-and-folds. By now, the dough should look much smoother and have developed significant tension.
4. Cold Fermentation
Transfer the dough to a clean, lightly oiled bowl. Turn the dough inside the bowl so the top is coated in oil as well. Cover the bowl and place it in the refrigerator for 8 to 24 hours. This slow cold fermentation develops both flavor and texture.
5. Shaping
Remove the dough from the fridge and let it sit on the countertop for one hour to warm up slightly. Liberally sprinkle your work surface with flour and dump the dough out.
- Gently pat and stretch the dough into a 6 by 12-inch rectangle.
- Fold one short end over like a book, then pat and stretch it again into a 6 by 10-inch rectangle.
- Pinch the seams together.
- Cut the dough lengthwise to create two long slipper-shaped loaves, or cut into smaller squares for buns.
- Transfer the loaves to a flat baking sheet lined with parchment paper.
6. Final Rise
Cover the shaped loaves and let them rest on the counter for 2 to 2 1/2 hours. They are ready when they are noticeably puffed and bubbly all over.
7. Oven Preparation
About 90 minutes into the final rise, arrange your oven racks: place one rack in the center and one at the lowest setting.
- Place a pizza stone, pizza steel, or an inverted baking sheet on the center rack.
- Place a heat-proof skillet (about 10 inches) on the lowest rack.
- Preheat the oven to 475°F.
8. Bake
When the oven is hot and the dough is puffed, slide the parchment paper holding the loaves onto the hot pizza stone or baking sheet on the center rack. Immediately pour 1 cup of ice into the hot skillet on the bottom rack and close the oven door quickly to trap the steam.
Bake for 13 to 15 minutes, or until the bread is a deep golden color. The internal temperature should reach 200°F. Transfer to a wire rack to cool completely before slicing to maintain the crisp shell.
Chef’s Tips
- Weigh Your Flour: If possible, use a kitchen scale to measure your flour (120g for the sponge, 320g for the dough). If you must use cups, fluff the flour up and sprinkle it into the measuring cup rather than scooping it, which packs the flour down and leads to dense bread.
- Wet Hands: Because this dough is highly hydrated and sticky, always wet your hands before performing the stretch and fold steps to prevent sticking.
- Doneness Check: To ensure the bread is fully baked, you can use an instant-read thermometer; the internal temperature should be 200°F.