Cake pops are the perfect treat for birthday parties, celebrations, or simply a fun kitchen project to tackle with the family. While you may have seen these treats in bakeries or coffee shops, making them at home ensures a fresher, more delicious result compared to store-bought versions that often use stale cake. This guide breaks down the process into manageable steps, using a standard box cake mix and a simple, homemade buttercream to create the perfect “sweet glue” for your treats.
Ingredients
The Cake Base
- 1 box (15 oz) cake mix (any flavor, baked into a 9×13 inch cake or two 8-inch layers and cooled)
- Optional: 1/2 cup “Jimmy” sprinkles (for a fun confetti interior)
Homemade Vanilla Frosting
- 1/2 cup butter, room temperature
- 2 1/4 cups powdered sugar
- 1 to 2 tablespoons cream
- 1 teaspoon vanilla extract
- Note: You will need about 1 cup of prepared frosting total.
Assembly and Decoration
- Candy melting wafers (various colors)
- Cake pop sticks
- Sprinkles for decoration
Instructions
1. Prepare the Frosting
Start by making a half-batch of vanilla frosting, which acts as the binder. In a mixer, cream the room-temperature butter and add the powdered sugar. Add the vanilla extract and drizzle in the cream. Mix on high for about a minute until the mixture is smooth and fluffy.
- Note: Avoid using cream cheese frosting, as it is often too soft to hold the pops together effectively.
2. Crumble the Cake
Ensure your baked cake is completely cooled; if it is too hot, it will melt the buttercream and create a mess. For a uniform interior color and smoother texture, use a serrated knife to trim away the browned top, bottom, and sides of the cake.
Break the trimmed cake into chunks and crumble it into a large bowl using your hands. Break up the cake until fine, but be careful not to mash it into a hard paste. If you want a pop of color inside, mix in 1/2 cup of “Jimmy” style sprinkles now.
3. Mix and Shape
Add approximately one cup of the prepared frosting to the crumbs. You can use a mixer on the lowest setting for about 30 seconds or mix by hand just until combined. The texture should resemble moist, fluffy sand and hold together when pressed, but it should not be over-mixed.
Using a tablespoon scoop, portion the mixture and roll it into 1-inch balls. Place them on a baking sheet lined with parchment paper. This recipe yields approximately 38 cake pops.
4. Chill the Cake Balls
This step is critical. Place the baking sheet in the freezer for 30 minutes or in the refrigerator for 4 hours to firm up. If they are too soft, they will fall off the stick during dipping.
5. Melt the Coating
Melt your candy wafers. You can use a microwave in 30-second bursts, stirring in between, or use a double boiler with simmering water for a safer, gentler heat that prevents the candy from seizing. Once melted, pour the coating into a tall glass or liquid measuring cup for easier dipping.
6. Insert Sticks and Dip
Remove only about five cake balls from the fridge at a time to keep them cold.
- The Anchor: Dip the tip of a cake pop stick into the melted candy, then push it about one inch (halfway) into a chilled cake ball. This acts as glue.
- The Dip: Dip the cake pop straight into the coating until fully covered.
- The Tap: Lift it out and gently tap the stick against the edge of the glass or your hand to remove excess coating.
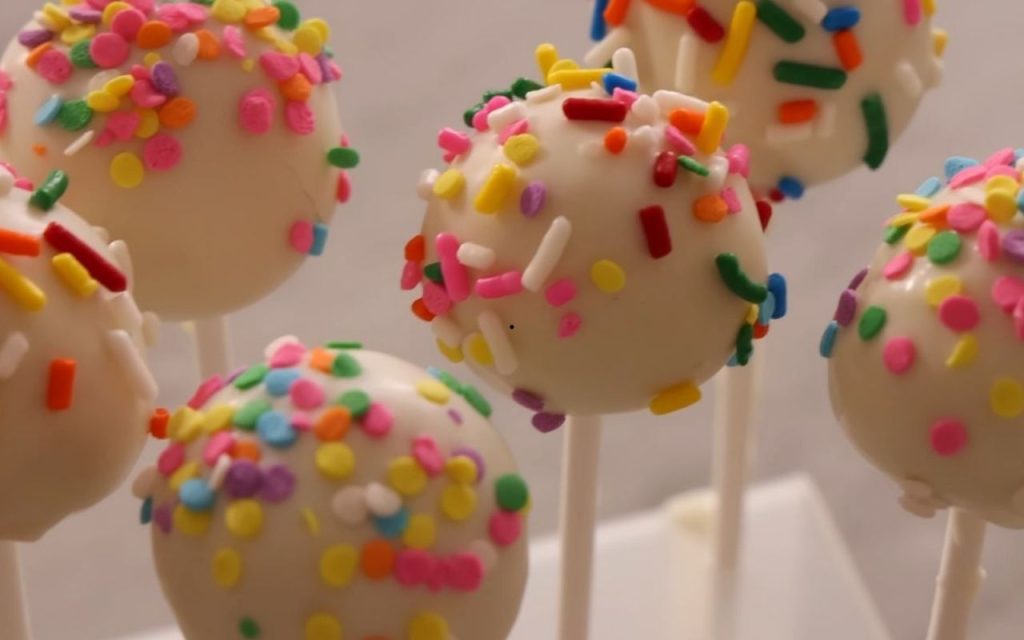
- Decorate: If adding sprinkles, apply them immediately while the coating is still wet.
7. Let Set
Place the finished pops upright in a cake pop stand or a block of styrofoam to dry. If you do not have a stand, you can place them stick-up on a parchment-lined sheet, though this will result in a flat top.
Professional Tips for Success
- Avoid Temperature Shock: If your cake balls are frozen solid and the candy melt is too hot, the temperature difference can cause the cake to expand and crack the shell. To prevent this, ensure the balls are chilled but not frozen hard when dipping.
- Fixing Seized Chocolate: If your candy melts become crunchy or seize up in the microwave, switch to a double boiler method to gently melt them.
- Keep Coating Warm: If the candy coating starts to thicken as you work, keep the dipping glass in a bowl of warm water (ensuring no water gets inside the chocolate).
- Storage: Completed cake pops will last in the refrigerator for one week. Undipped cake balls can be stored in the fridge for two days or frozen for up to two months.