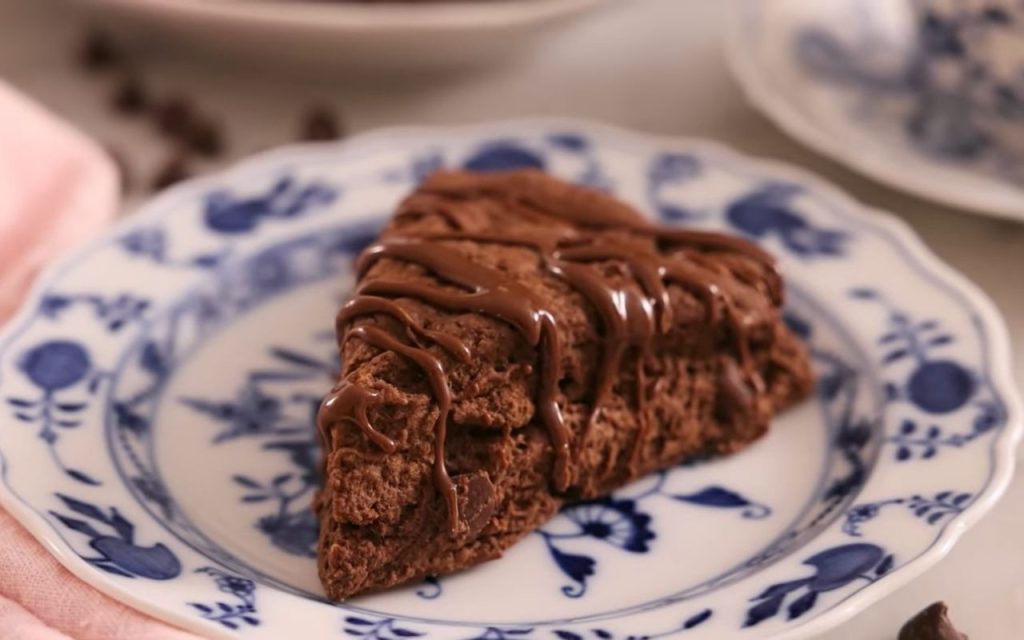
Forget dry, crumbly store-bought pastries. Homemade scones are entirely different: buttery, flaky, moist, and the perfect pairing for a cup of coffee or tea. These double chocolate scones feature a tender interior studded with chocolate chips and finished with a rich cocoa glaze. By layering the dough and keeping the ingredients cold, you create a bakery-style treat with distinct layers and a texture that truly melts in your mouth.
Ingredients
For the Scones
- 2 ¼ cups (270g) all-purpose flour
- ½ cup (50g) cocoa powder (Dutch-processed recommended for a fudgier result)
- ¼ cup (50g) sugar
- 2 ½ teaspoons baking powder
- ¼ teaspoon salt
- ½ cup (113g) cold unsalted butter, cubed
- ⅓ cup chocolate chips
- 1 ¼ cups cold heavy whipping cream (amount may vary slightly depending on humidity)
For the Chocolate Glaze
- 1 cup (120g) powdered sugar
- 2 tablespoons cocoa powder
- 2 tablespoons milk (plus extra if needed)
- ½ teaspoon vanilla extract
Optional Garnish
- Flaked sea salt
Instructions
- Preheat and Prep Preheat your oven to 400°F (200°C). Line a rimmed baking sheet with parchment paper.
- Combine Dry Ingredients In a large bowl, sift together the all-purpose flour, cocoa powder, sugar, salt, and baking powder. Sifting is essential here as cocoa powder tends to clump; press any remaining “cocoa rocks” through the sieve with a spoon. Whisk the mixture to ensure it is evenly combined.
- Cut in the Butter Add the cold, cubed butter to the dry ingredients. Using a pastry blender, cut the butter into the flour mixture until the butter pieces are roughly the size of peas. A pastry blender is preferred over using your hands to prevent the heat of your fingers from melting the butter, which helps ensure flaky layers.
- Add Chips and Cream Stir in the chocolate chips with a spatula. Pour in the cold heavy whipping cream. Start with 1 cup and mix gently. Gradually add more cream (approx. ¼ cup more) if the dough is too dry, stirring until a “shaggy” dough forms. The dough should be wet and rough but hold together when squeezed; be careful not to overwork it, as this can toughen the scones.
- Laminate the Dough Turn the dough out onto a lightly floured surface. Press it into a rough square shape. Cut the square in half, stack one half on top of the other, and press it down again. Repeat this process (cutting, stacking, and pressing) one more time. This technique mimics puff pastry, creating pockets of butter that steam in the oven to produce distinct, flaky layers.
- Shape and Chill Press the dough into a disc approximately 7 inches in diameter. Cut the disc into 8 roughly equal wedges. Place the wedges on the prepared baking sheet, spacing them about two inches apart. Transfer the baking sheet to the refrigerator to chill for at least 15 minutes. This step allows the structure to set before baking.
- Bake Bake the chilled scones for 18 to 20 minutes, rotating the pan halfway through the baking time. They are done when they are puffed and the centers look dry. Remove from the oven and allow them to cool.
- Glaze and Serve While the scones cool, whisk together the powdered sugar, cocoa powder, milk, and vanilla extract in a small bowl until smooth. If the glaze is too thick to drizzle, whisk in an extra teaspoon of milk until it reaches the desired consistency. Drizzle the glaze generously over the cooled scones. If desired, sprinkle with flaked sea salt for a savory contrast.
Baker’s Tips
- Keep it Cold: The secret to flaky pastry is cold ingredients. Distinct pieces of cold butter create steam pockets during baking, resulting in a crisp, short texture rather than a chewy one.
- Don’t Overmix: When adding the cream, mix only until a messy, shaggy dough forms. Overworking the dough develops gluten, which leads to a less tender scone.
- Storage: These scones can be stored in an airtight container for up to 4 days.