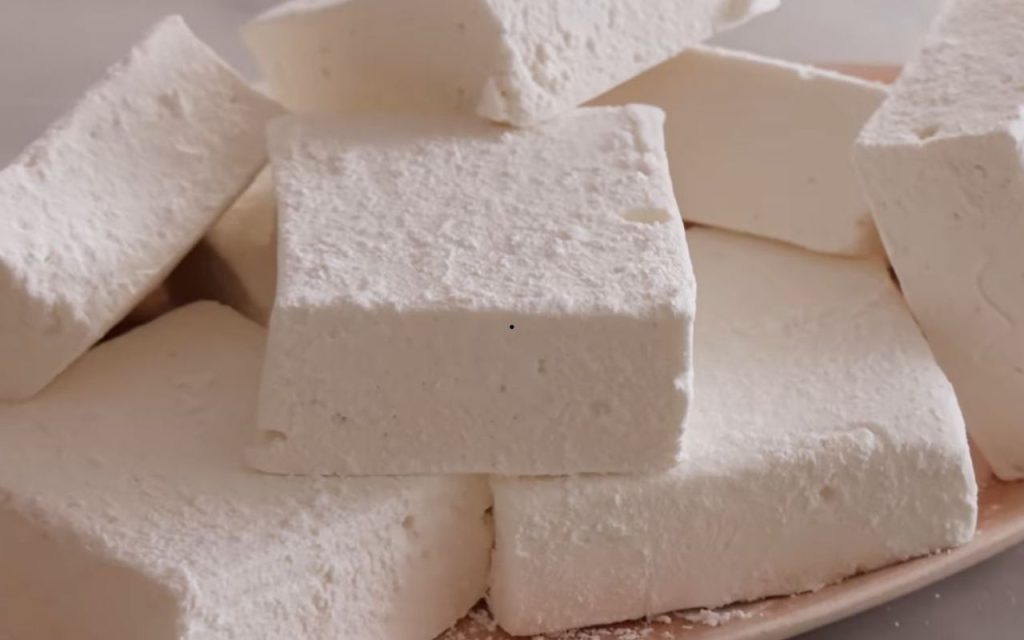
If you have never tasted a homemade marshmallow, you are in for a revelation. Unlike the often stale, rubbery store-bought versions, these scratch-made confections are like creamy sugar clouds that melt effortlessly in your mouth,.
This recipe yields a soft, flavorful treat perfect for elevating your hot chocolate, creating gourmet s’mores, or simply enjoying as a sweet snack. While the process involves candy making, it is surprisingly straightforward and requires only a few pantry staples.
Ingredients
The Bloom
- 2 packets (0.25 oz each) unflavored gelatin
- 1/2 cup cold water
The Sugar Syrup
- 1 1/2 cups (300g) granulated sugar
- 1 cup (240ml) light corn syrup
- 1/2 cup water
- 1/4 tsp salt
Flavoring
- 2 tsp vanilla extract
Dusting Mixture
- 1 cup (120g) powdered sugar
- 1/4 cup (20g) cornstarch
- Vegetable oil (for greasing the pan)
Instructions
- Prepare the Gelatin: In the bowl of a stand mixer, combine the two packets of unflavored gelatin with 1/2 cup of cold water. Set this aside to allow the gelatin to hydrate (bloom) while you prepare the sugar syrup.
- Prep the Pan: Lightly oil an 8×8-inch baking pan. If using a metal pan that is not non-stick, line it with parchment paper or plastic wrap first, then oil the lining to prevent sticking.
- Make the Syrup: In a heavy-bottomed saucepan, combine the granulated sugar, light corn syrup, salt, and the remaining 1/2 cup of water. Place over medium heat and stir until the sugar has completely dissolved,.
- Cook to Soft Ball Stage: Once the sugar dissolves, stop stirring. Insert a candy thermometer and cook the mixture until it reaches 240°F (115°C),.
- Note: If you do not have a thermometer, you can use the “cold water test.” Drop a small amount of boiling syrup into a glass of cold water. If it forms a soft, pliable ball that does not dissolve but isn’t hard or brittle, it is ready.
- Combine Syrup and Gelatin: Remove the syrup from the heat immediately upon reaching temperature. Attach the whisk to your stand mixer. With the mixer running on low speed, carefully and slowly drizzle the hot sugar syrup down the side of the bowl into the hydrated gelatin.
- Whip the Mixture: Once all the syrup is added, gradually increase the speed to high. Whip for 3 to 5 minutes. The mixture will triple in volume, turn bright white, and become very thick.
- Doneness Test: When you lift the whisk, the marshmallow should form a thick trail that holds its shape on top of the mixture rather than sinking back in.
- Add Flavoring: Add the vanilla extract and whip briefly on high to incorporate.
- Set the Marshmallows: Pour the thick marshmallow mixture into your prepared oiled pan. If necessary, use a damp hand to gently pat the top down to create a smooth, even layer. Let the marshmallows sit uncovered at room temperature for at least 4 hours to set completely,.
- Prepare the Dusting Powder: In a bowl, whisk together the powdered sugar and cornstarch. This mixture is essential to absorb moisture and prevent stickiness.
- Cut and Serve: Generously dust a cutting board with the sugar-cornstarch mixture. Turn the marshmallow slab out onto the board. Dust the top of the slab as well. Using a sharp knife, cut the marshmallows into squares. Dust your knife with the powder between cuts to prevent sticking. Dredge the cut sides of each marshmallow in the powder mixture so they are fully coated,.
Optional Tips
- Flavor Variations: While vanilla is classic, you can experiment with other flavors. For a holiday twist, use peppermint extract. For something floral, try rose water or orange blossom extract. Because these extracts are more potent than vanilla, reduce the quantity to 1 teaspoon or less,.
- Colors and Shapes: You can add gel food coloring during the whipping stage for festive colors. Additionally, instead of using a square pan, you can pipe the mixture into shapes or use oiled silicone molds for fun designs,.
- Storage: These marshmallows can be stored in an airtight container at room temperature for up to 2 weeks,.
- Timing: If you cannot cut them immediately after 4 hours, you can let them set for up to 24 hours before cutting.