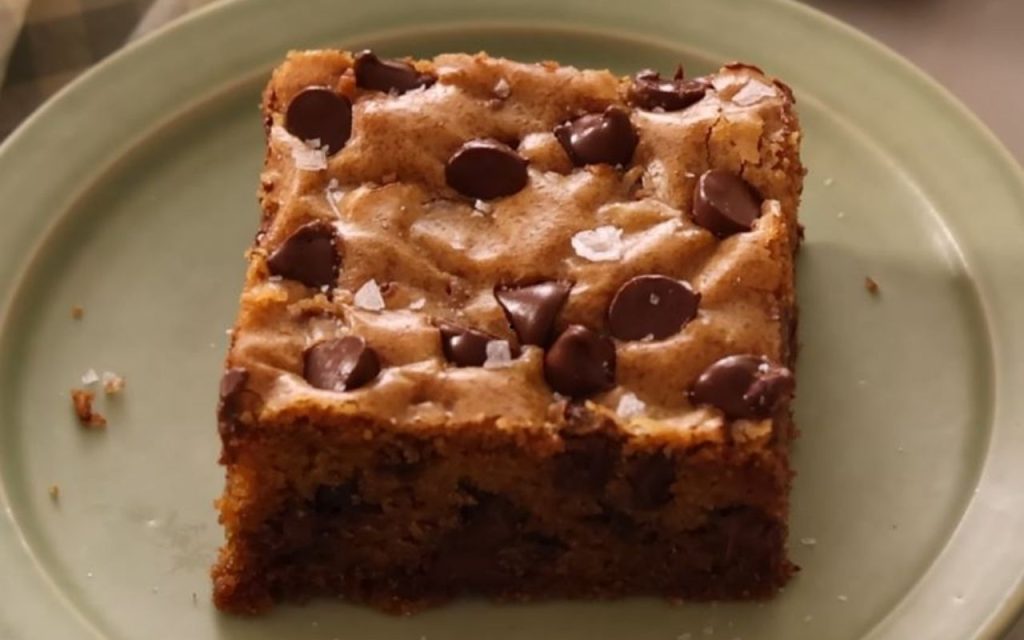
If you adore the rich, comforting flavor of a classic chocolate chip cookie but prefer a soft, gooey texture, these cookie bars are your perfect match. Baking the batter in a pan allows for more brown sugar—the secret to that wonderful flavor and exceptionally great texture. This recipe yields tender, deeply flavored bars that are easy to slice and impossible to resist. Get ready to create a batch of simple, decadent treats!
Ingredients
Dry Ingredients
- 2 ¼ cups All-Purpose Flour
- 1 tablespoon Cornstarch
- 1 teaspoon Baking Soda
- 1 teaspoon Salt
- ⅔ cup Granulated Sugar
- 1 cup Brown Sugar, packed
Wet Ingredients
- ¾ cup Butter, melted and slightly cooled
- 2 large Eggs (room temperature is best)
- 1 tablespoon Vanilla Extract
Mix-ins
- 2 cups Chocolate Chips, divided
Optional Topping
- Flaked Sea Salt
Instructions
- Preheat and Prep: Set your oven to 350°F (175°C) so it is hot and ready. Grab an 8×8 inch pan and fully line it with parchment paper.
- Combine Dry Ingredients: In a large bowl, whisk together the all-purpose flour, cornstarch, baking soda, and salt. The cornstarch helps achieve an extra tender cookie bar. Once mixed, set this bowl aside.
- Mix Sugars and Butter: In a separate large bowl, combine the granulated sugar and the packed brown sugar. Pour in the melted and slightly cooled butter. Whisk these ingredients together for about 30 seconds until the mixture is uniform and smooth, resembling a thick slurry.
- Add Wet Ingredients: Add the two large eggs and the tablespoon of vanilla extract. Whisk this mixture for about one minute; adding the eggs will significantly thin out the batter, making it easier to mix.
- Combine Wet and Dry: Use a spatula to gently combine the wet mixture with the dry mixture. Stir only until the ingredients are almost fully combined; you still want to see some patches of flour.
- Incorporate Chocolate: Measure out two cups of chocolate chips. Set aside ¼ cup of chips to use for topping, and add the remaining 1 ¾ cups to the batter. Stir just until the chocolate chips are distributed and any last bits of flour disappear.
- Transfer to Pan: Transfer the prepared batter into the lined 8×8 inch pan. Use a spatula or an offset tool to smooth the batter into an even layer, ensuring a nice, even start before baking.
- Top and Bake: Sprinkle the reserved ¼ cup of chocolate chips over the surface of the batter for a glossy finish. Bake the cookie bars for approximately 50 to 55 minutes.
- Mid-Bake Protection: After about 30 minutes of baking, loosely cover the pan with foil. This prevents the top from taking on too much color.
- Check for Doneness: The bars are finished when the edges are totally set and the center yields only a few crumbs when a skewer is inserted.
- Cool and Serve: Allow the bars to cool completely. Remove them from the pan, transfer to a cutting board, and cut them into your desired size pieces before enjoying.
Optional Tips
- For Extra Flavor: You can choose to brown the butter before cooling and adding it to the recipe. Browning the butter involves cooking it down slightly, which gives the bars a nutty depth of flavor and a little something extra.
- Achieving Fudgier Results: If you prefer an intensely gooey or fudgier center, subtract a few minutes from the total baking time.
- Customize Your Mix-ins: This is a versatile recipe! While chocolate chips are standard, feel free to use other inclusions like toasted walnuts or pecans, pistachios, candy-coated chocolates, or even chopped pretzels. You may also use a nice chocolate bar, chopped up, instead of chips.
- Flaked Salt Finish: For a contrasting taste and satisfying crunch, sprinkle flaked sea salt over the bars after they have cooled and been cut, or even sprinkle a little on top before baking.
- Mixing Technique: Use a whisk for the wet ingredients and a spatula for combining the wet and dry ingredients to prevent overmixing. Combining the dough until almost mixed before adding the chocolate is key to maintaining texture.